
The Benefits Of Grounding: Fact Or Fiction?
Although still experimental, the benefits of grounding have been demonstrated in an increasing number of studies.
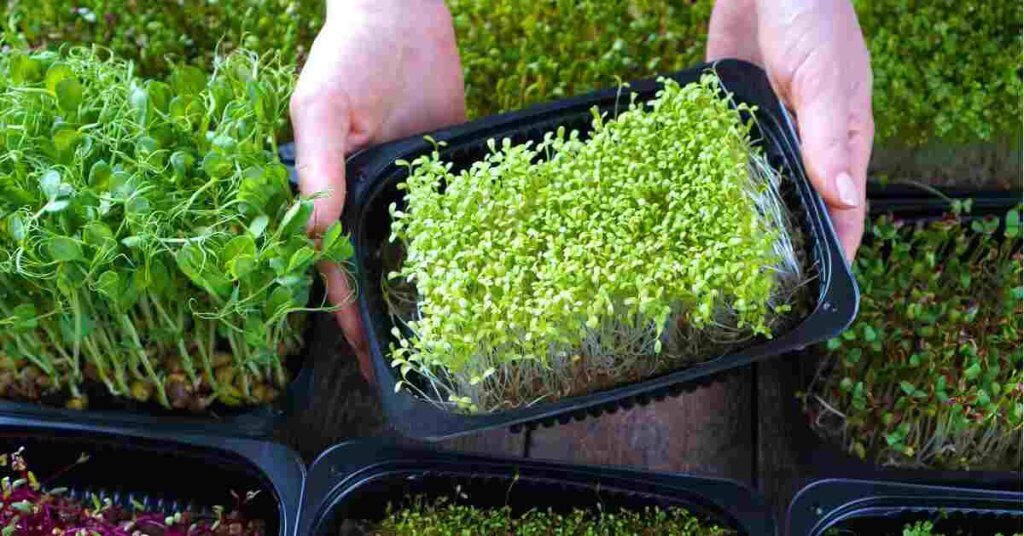
Microgreens form a fundamental part of my goal to grow as much of my own food as possible – they are nutritious, tasty, quick to harvest, and extremely cheap. With a full harvest available between 10 and 14 days, there is no better way to get involved with growing your own food.
The hobby of growing microgreens has become so popular that there are thousands of websites dedicated to growing all manner of microgreens in every imaginable way. While this is great – the more people growing their food the better – the sheer amount of information can make it overwhelming for most beginners. I know because I have been there.
After years of trial and error, I’ve found the simplest way to grow luscious microgreens, using the cheapest and most readily available materials.
This article will give a step-by-step walkthrough of how to grow your own microgreens from seeds, detailing every step while drawing your attention to the most common sources of failures (yes, I’ve made all these mistakes myself). With a bit of practice and patience, you too will soon be growing your own microgreens.
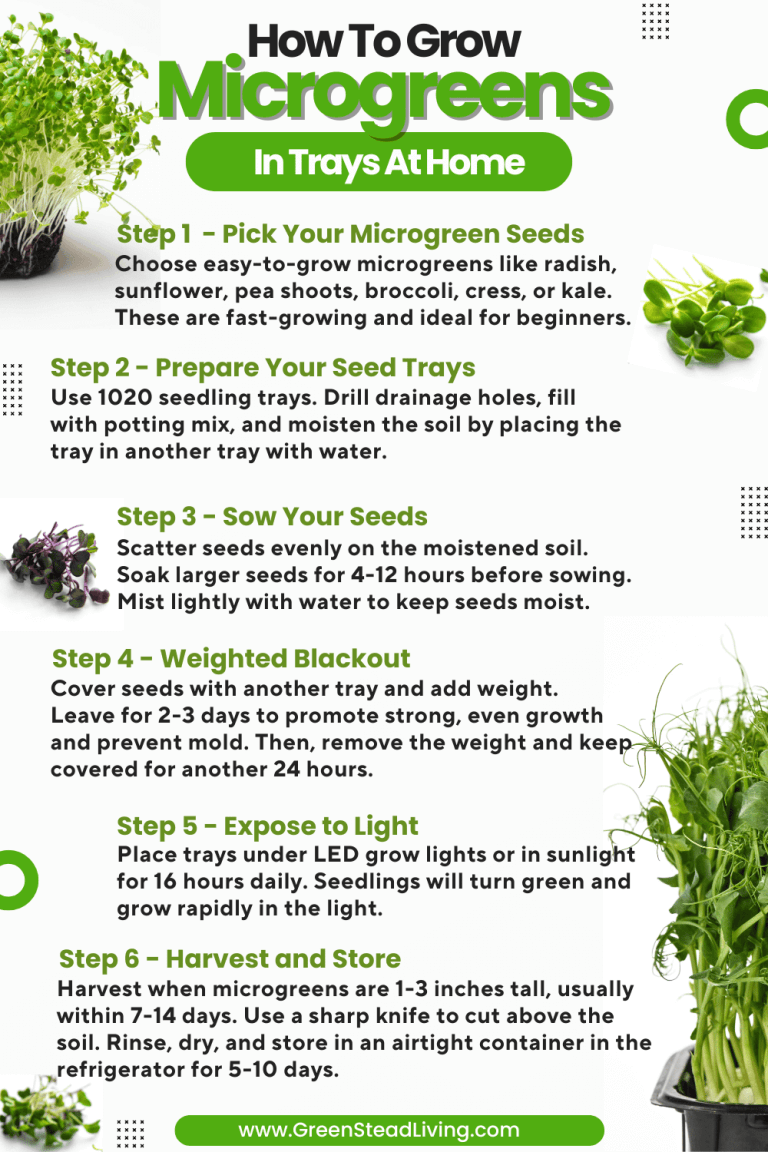
There are many ways to grow microgreens, from soilless growing mediums to complex hydroponic setups, with each technique having its advantages and disadvantages.
For small home setups, however, where the aim is to simply grow enough fresh microgreens for personal use, using seed trays and regular potting soil is by far the most simple yet effective way to go. This is the method the rest of this article will focus on.
What You Will Need
Before getting started, you’ll need to source the following. More details about each will be in the forthcoming sections.
For beginners, it’s best to start with microgreens that are easy to grow, have a quick germination time, and are relatively forgiving of minor mistakes.
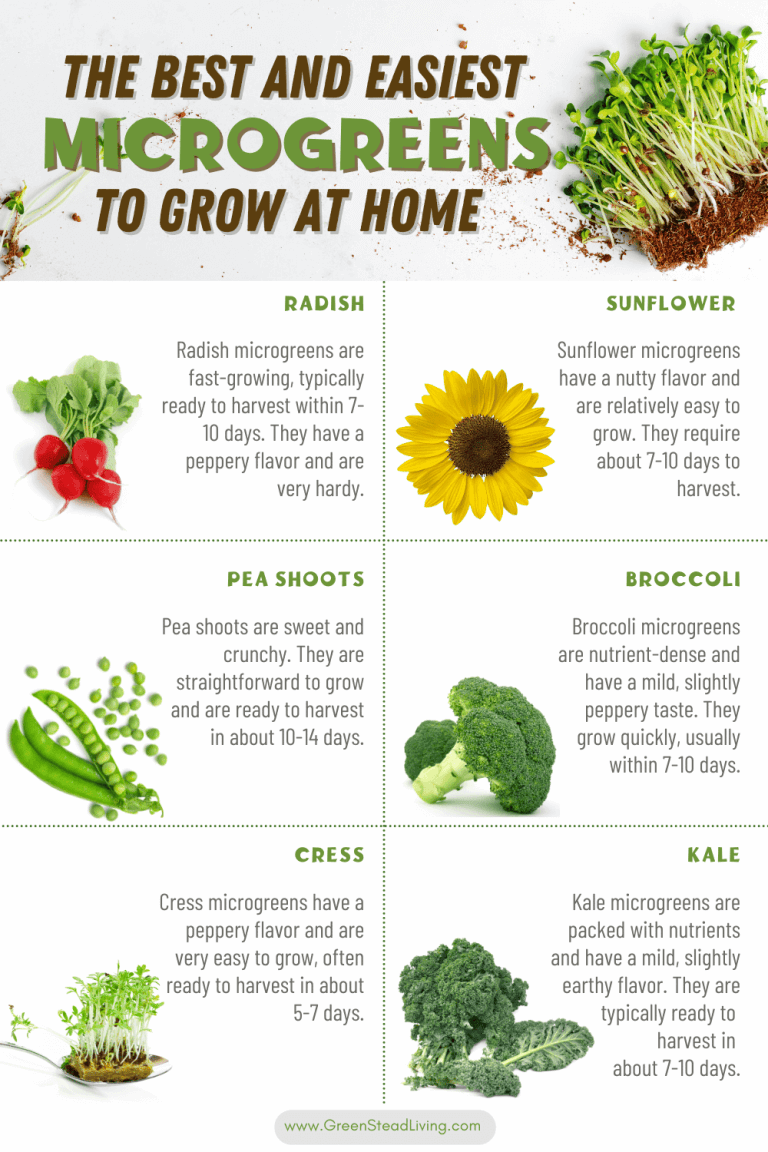
You can also buy mixes, such as a salad mix, that combines 3 or 4 common microgreens for a varied mix. Mumm’s spring salad mix is currently my go-to favorite, containing an easy-to-grow blend of broccoli, radish, red clover, and alfalfa.
For Canadians, Mumm’s is my favorite site to purchase microgreens as it contains a varied and diverse organic range at a great price, especially for bulk orders. For those in the US, True Leaf Market is the most recommended site, although there are certainly many others that are equally reputable.
You can also buy seeds locally if you can find them. Ensure they are good-quality seeds, avoid GMOs (genetically modified), and ensure the microgreen seeds are not chemically treated. If you can see a Certified Naturally Grown or organic label, even better.
Microgreen seeds are no different from regular seeds – microgreens are just an early harvest of regular seeds. But seeds specifically created with microgreens in mind are tested for high germination rates, are suitable for early harvest, and are not treated with fungicide that many regular seeds are. With reputable microgreen seed sites, you know you are getting seeds that are well-suited to early harvest.
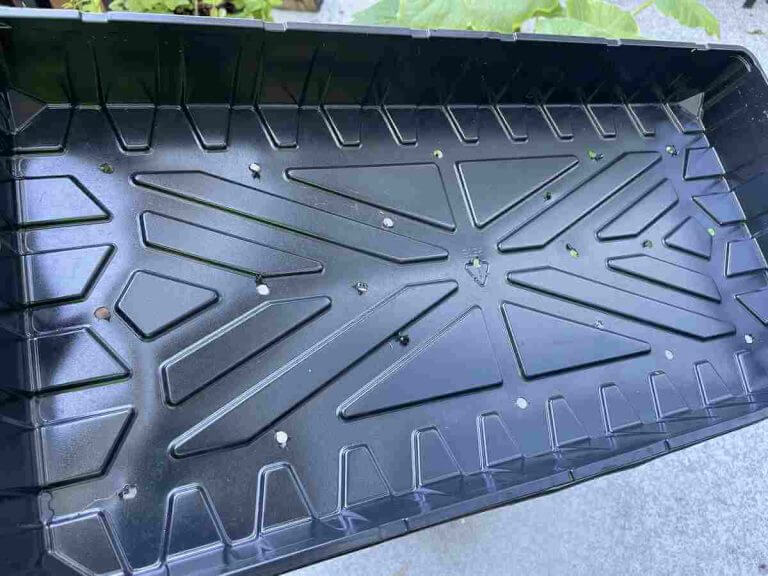
The best seed trays by far are the common 1020 seedling trays which can be purchased from almost any garden center, hardware, or grocery store for just a couple of dollars. At a standard 2.5 inches deep, they are also the perfect height for microgreen root development.
You will need at least three 1020 trays: one for the soil, a second for the water, and a third for the weighted blackout stage.
Drill small holes (1/8-inch works great) into the bottom of one of the trays, spreading around 20 holes evenly across the entire bottom. These holes are for watering our soil from the bottom, as top watering is inefficient when the microgreens grow tall and thick.
With the holes drilled, fill the drilled tray with a good-quality potting mix (which can be found inexpensively at any hardware/grocery/nursery store) to the very top. If your soil mix is too low, you will find it more difficult to harvest. Low soil levels will also make it more difficult for air to circulate, making it more likely to develop root rot. Lightly level and flatten your soil with the bottom of a second 1020 tray.
Fill the second 1020 tray (without drilled holes) with 2-3 cups of water, and place your first drilled tray with soil directly into it. The aim here is to moisten the soil fully, and by placing the water underneath, the water will wick upwards and fully saturate the soil.
Let the soil soak up the water for an hour or so until the soil is fully moist but not soggy. It should resemble a damp sponge. Add more water if your soil still feels dry or crumbly.
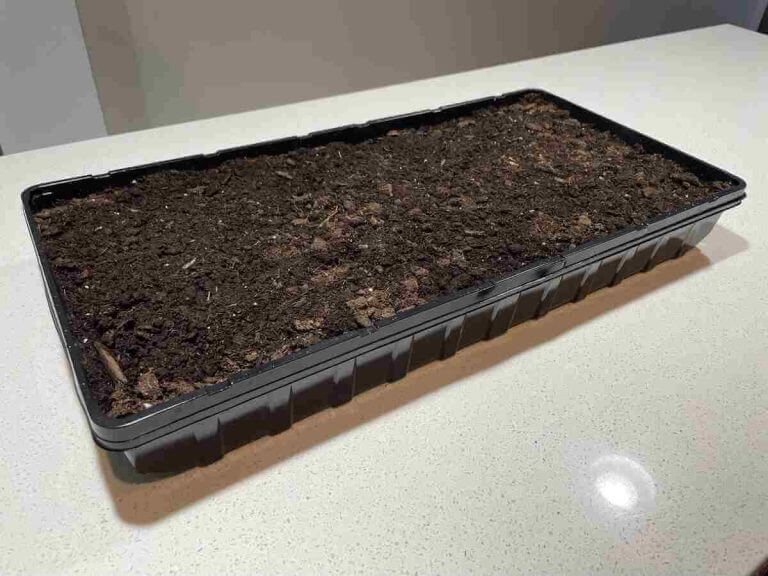
Once your soil is moistened (but not soaking), it’s time to sow your seeds.
This is a tricky step for beginners, as how many seeds you should use depends on the seed variety.
The best starting point is the instructions on the back of the packet, as they will tell you how many grams of seed to use per area. If not, you can find the information online.
Medium and large-sized seeds should be soaked first as it softens the seed coat, making it easier for the seed to germinate and sprout quickly. Soaking also ensures more even and consistent germination, leading to a uniform crop of microgreens.
General advice is to soak larger-sized seeds between 4 and 12 hours, or as per the supplier’s instructions on the back of the packet. In my experience, however, the only seeds that need to be soaked are peas, nasturtium, and sunflowers, which I will soak for around 8 hours. Be careful not to over soak – anything over 12 hours will lead to lower germination rates.
Now the tricky part – sowing your seeds. The aim is to evenly scatter the seeds across the surface of the soil without areas of clumping or sparsity. The more level you leave your soil surface from step 2 the easier this will be.
Aim for a dense but not overlapping layer of seeds. The ideal density varies based on the seed variety, and mastering this will require a bit of experimentation and practice. Generally, though, smaller-sized microgreen seeds such as the spring salad mix I use will look like the image below.
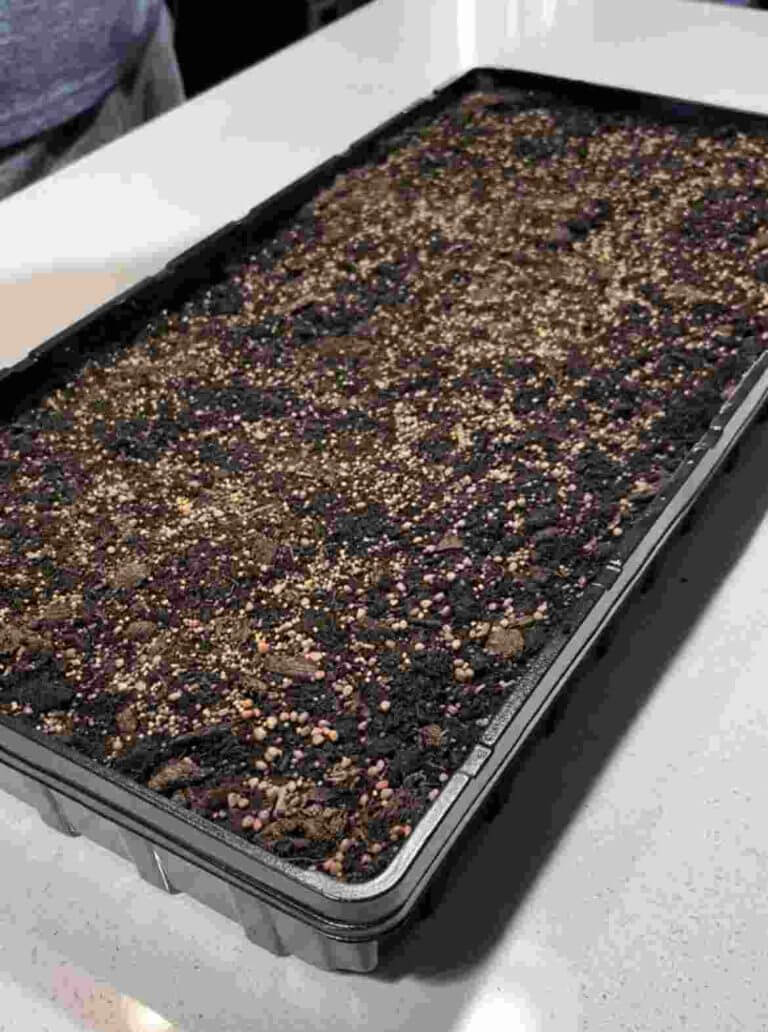
Lorem ipsum dolor sit amet, consectetur adipiscing elit. Ut elit tellus, luctus nec ullamcorper mattis, pulvinar dapibus leo.a
Seeds need to be constantly moist to germinate – if they dry out they will stop germinating and die. Although your soil should already be nice and moist, mist the seeds slightly with a water spray bottle, just enough to ensure they are in contact with water. Be careful with the spray, however – smaller seeds are easily dislodged if you spray too aggressively.
With the seeds sown, we enter the first stage of germination – weighted blackout – where we deprive the seeds of light and apply a physical weight on top of them.
This may sound counterintuitive and strange, and to some extent it is, but this stage serves many important purposes.
Firstly, the weight helps to push the seeds into the growing medium, ensuring better seed-to-soil contact so the seeds remain constantly moist while promoting more uniform germination.
Secondly, the pressure encourages the seedlings to grow stronger as they push up against the weight, resulting in sturdier and more robust microgreens. The difference between weighted and non-weighted microgreens is night and day – non-weighted microgreens will grow tall and skinny, whereas weighted ones will produce thick stems and leaves.
Thirdly, and perhaps most importantly, weighted covers can help prevent mold by maintaining optimal humidity levels and reducing excessive moisture on the surface of the seeds. Root mold is the most common cause of failure for microgreens, so any attempt to counter this should be taken.
To apply the weight, place the third seed tray on top of the misted seeds, and place your weight (in this case a paving stone) on top of this third tray. If you wish to grow numerous trays at once, you can stack the other microgreen trays on top of each other, with the weighted tray at the very top. This is known as stacking.
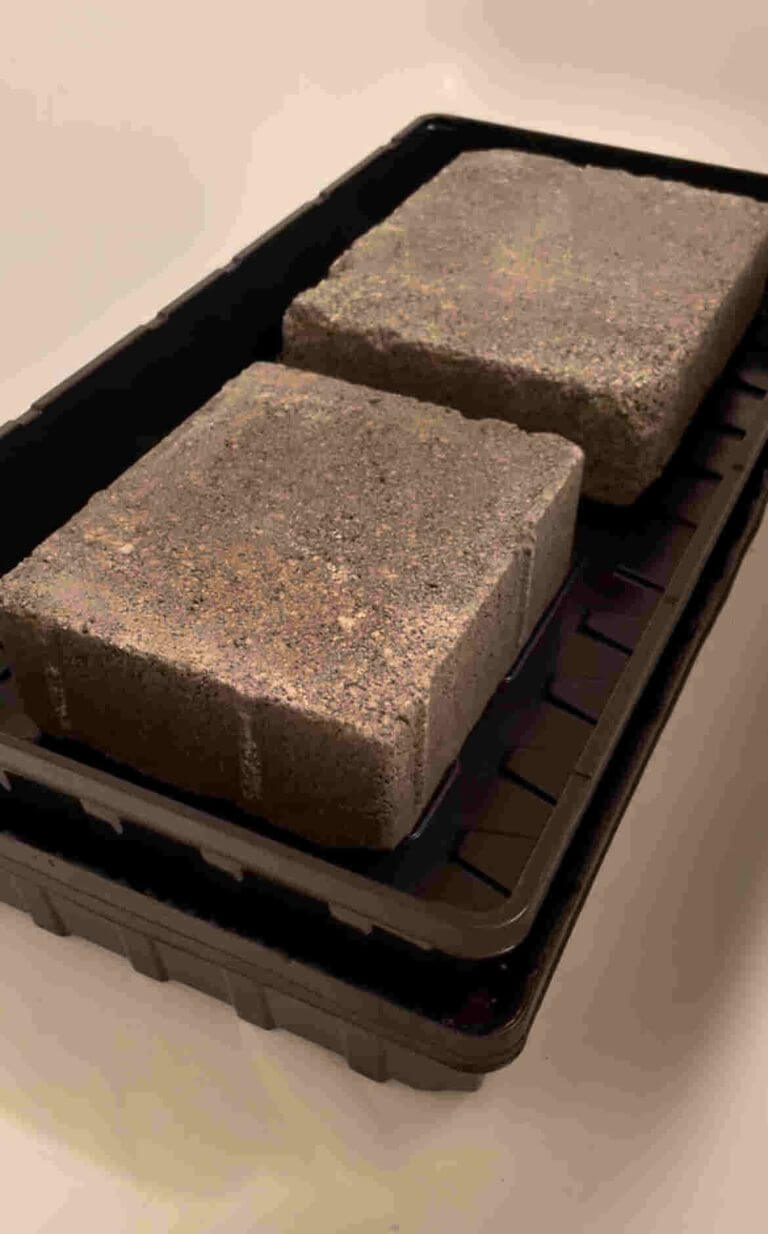
Once stacked, leave the trays for 2-3 days (depending on the seed variety) and remove after the weighted tray. You will be surprised how much these little seedlings have managed to grow with no light and with weight on top.
Ideally, you will leave the seedlings blacked out (without any light) for a further 24 hours (without the weight), known as blackout. Although this step is optional (your seedlings will grow if you place them in light immediately after the weight is removed), blacking out mimics the natural soil environment where the seedlings need to grow and stretch for light, helping to encourage stronger stems and root systems.
Some seeds are also sensitive to light during the initial germination phase, so blacking out protects these seeds and promotes better sprouting.
Although the ideal weighted and unweighted blackout times vary per seed and for many other variables, I have found 28 hours of weighted blackout followed by 24 hours of unweighted blackout to have the most reliable results. But feel free to experiment and see what works best for you.
After the third day of blackout, it’s time to give these seedlings the light they now desperately crave.
Before your seedlings receive any light, they will be yellow and won’t look particularly healthy. After just a few hours of light, however, they will begin to turn green and look like healthy little shoots.


While most growers use LED growing lights, it is possible to simply place your seed tray on a windowsill or outside in direct sunlight. Having tried both ways, however, LED grow lights are far superior as they provide consistent light for the 16 hours a day seedlings need to thrive.
By placing them on a windowsill, you will also notice that the shoots will lean towards the light, and as they get heavier, tilt sideways, and get tangled and messy. The shoots at the front will also block out light at the back, leading to uneven growth.
Fortunately, LED grow lights are cheap and easy to install. You can also use them for other plant seedlings if gardening is your thing. I use these here on Amazon, and when placed around 6-8 inches above microgreens, they provide a steady and consistent source of energy that will optimize your growth and yield.
16 hours of light a day is typically the number to aim for, turning them off overnight. Don’t fret about the numbers too much, I typically turn them on when I wake up and turn them off when I go to bed.
Throughout the remainder of the growing period, water at least once a day, adding two cups of water to the bottom tray. On hot days, you may need to do this twice a day – check the first inch or so of your soil to make sure it does not turn dry.
Most microgreens are ready to harvest when they reach a height of 1-3 inches, depending on the variety. Generally, this will be between 7 and 14 days after sowing, although some longer germinating varieties can take up to 21 days for a maximum yield.

For the best flavor and texture, harvest the microgreens before they become too tall or start developing their second set of true leaves, as they may become more fibrous and less tender.
To harvest, grab a long sharp knife and cut as low as is reasonably possible while lightly grabbing the tops with your other hand. Do not make the common mistake of using scissors as they tend to crush the stem, damaging the microgreens and reducing their shelf life. A sharp, clean knife can provide a cleaner, more precise cut, reducing the risk of crushing and contamination.
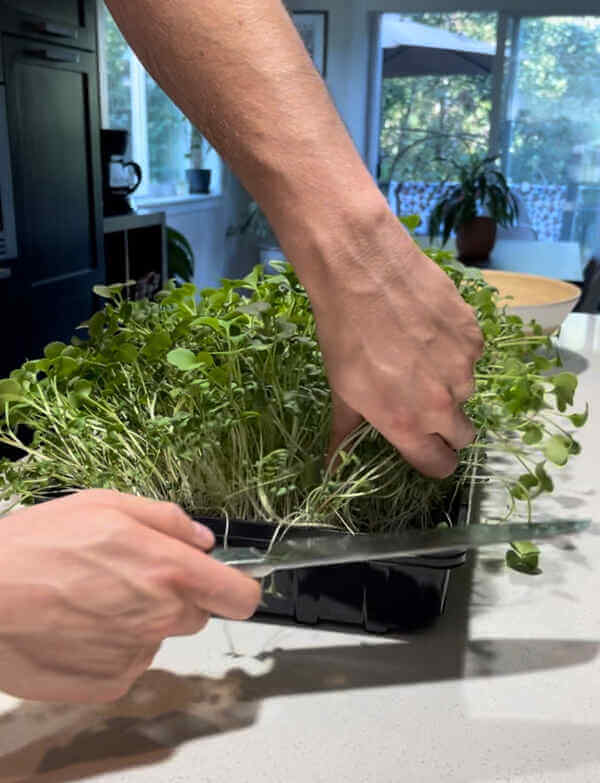
Again, this process takes a bit of practice to master. Avoid pulling the greens with your hand when grabbing as this will pull the roots (and the dirt) with it, and you’ll have to waste time separating and removing it.
Harvest in the morning when the plants are most hydrated for the best taste and texture. After harvesting, rinse the microgreens gently with cool water and dry them thoroughly. Store in an airtight container in the refrigerator for maximum freshness.
Microgreens can last in the fridge for about 5 to 10 days, depending on the type of microgreen and how well they are stored, just enough time to get another harvest going.
To maximize their shelf life, rinse them gently with cool water to remove any soil or debris and dry them thoroughly using a salad spinner or pat them dry with paper towels to remove excess moisture, which can cause them to spoil faster. Add a paper towel inside the container or bag to absorb any excess moisture and prevent the microgreens from becoming soggy.
Microgreens typically don’t regrow after being cut as cutting the entire plant leaves little to no plant material for regrowth. I tend to throw the used soil and roots into the compost pile.
There are a few exceptions, however, like pea shoots and some herb varieties, which may regrow slightly if harvested with care. For a consistent supply of fresh microgreens, however, it’s generally more efficient to plant new seeds regularly.
Growing microgreens at home is not only a fun and rewarding hobby but also a fantastic way to ensure you have a continuous supply of fresh, nutritious greens. With their quick turnaround time, low cost, and minimal space requirements, microgreens are perfect for anyone looking to enhance their diet with homegrown produce.
Starting with easy-to-grow varieties like radish, sunflower, and pea shoots, you’ll quickly gain confidence and enjoy experimenting with different types. Remember, the key to success is consistency in your growing practices, ensuring proper moisture, light, and air circulation.
While the initial setup may seem daunting, especially with the plethora of information available, the process simplifies once you get the hang of it. Don’t be afraid to make mistakes—each is a learning opportunity that brings you closer to mastering the art of microgreens.
Incorporate these tiny powerhouses into your meals and relish the satisfaction of eating what you’ve grown yourself.
There are many ways to grow microgreens, from soilless growing mediums to complex hydroponic setups, with each technique having its advantages and disadvantages.
For small home setups, however, where the aim is to simply grow enough fresh microgreens for personal use, using seed trays and regular potting soil is by far the most simple yet effective way to go.
Microgreens typically don’t regrow after being cut as cutting the entire plant leaves little to no plant material for regrowth.
There are a few exceptions, however, like pea shoots and some herb varieties, which may regrow slightly if harvested with care. For a consistent supply of fresh microgreens, however, it’s generally more efficient to plant new seeds regularly.
Microgreen seeds are no different from regular seeds – microgreens are just an early harvest of regular seeds. But seeds specifically created with microgreens in mind are tested for high germination rates, are suitable for early harvest, and are not treated with fungicide that many regular seeds are. With reputable microgreen seed sites, you know you are getting seeds that are well-suited to early harvest.

Although still experimental, the benefits of grounding have been demonstrated in an increasing number of studies.

A guide to Silkie chickens and everything you need to know about the breed before you buy.

The benefits of beef tallow include deep hydration, rich nutrients, and a natural alternative to synthetic moisturizers for healthy skin and cooking.
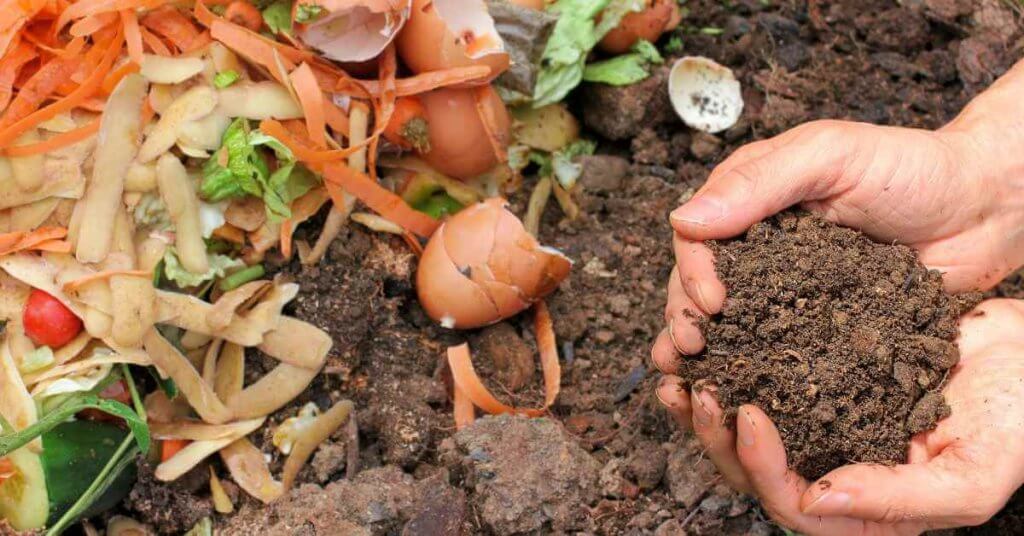
An easy beginners guide on how to make compost, the right way, for a healthier garden.

Reverse osmosis water filtration systems offer the best way to obtain clean and healthy tap water for drinking.
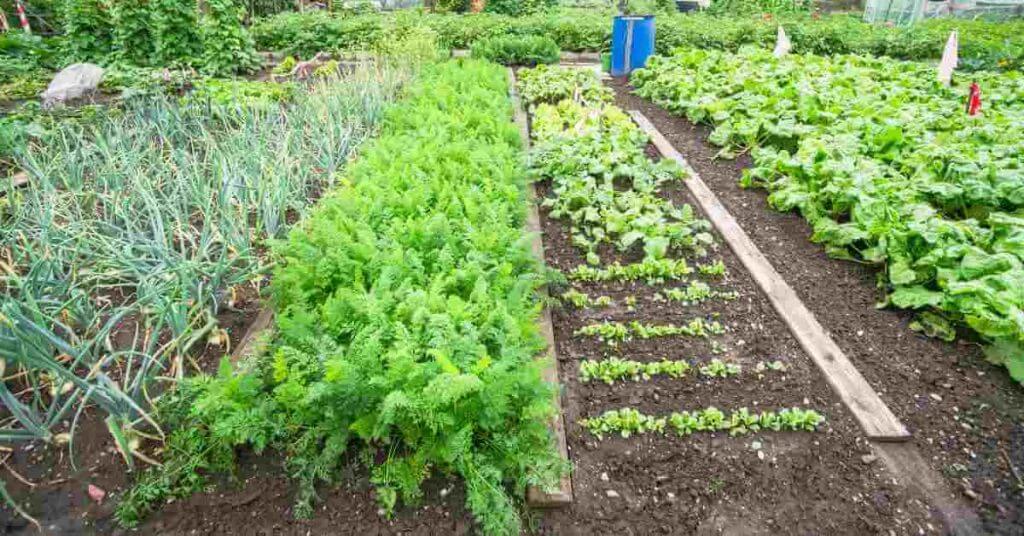
The ultimate guide to reap the benefits of no-dig gardening, complete with a step-by-step guide on building your own.