
The Benefits of Beef Tallow For Skin
Learn about the benefits of beef tallow for skin, from its complement of skin enriching vitamins to its complete fatty acid profile.
Imagine transforming your kitchen scraps and garden waste into a treasure trove of free nutrients for your garden.
Thankfully this isn’t just a dream; it’s the magic of composting, a simple yet profoundly effective way to enhance the health of your garden while converting trash into “green gold”.
Whether you’re a seasoned green thumb looking to optimize your permaculture garden, or a curious newcomer just getting started, this easy beginner’s guide will demystify the composting process, offering step-by-step instructions to turn your organic waste into a refreshing treat that your plants will thank you for.
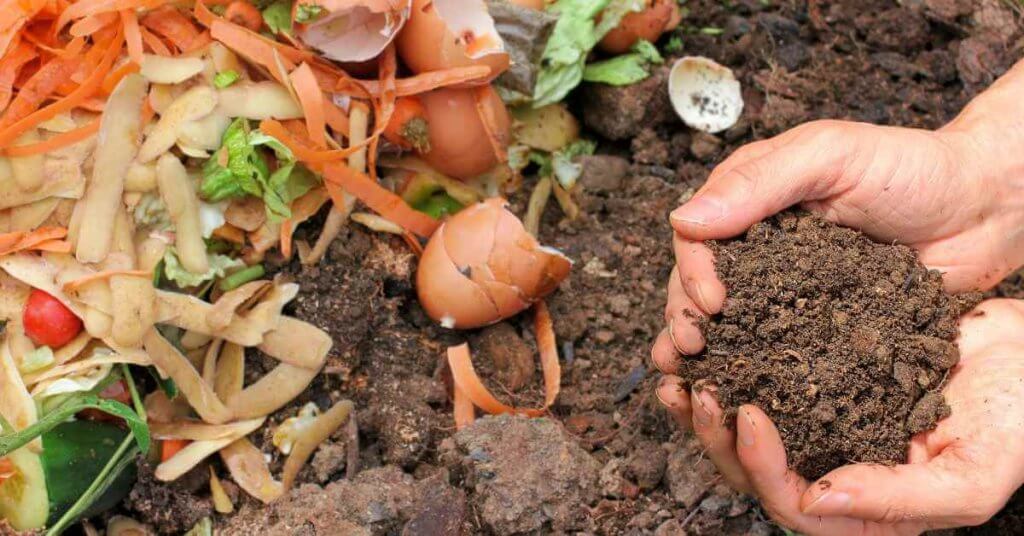
Compost is simply organic matter that has been decomposed and recycled as a fertilizer for soil enhancement. Because it is composed only of organic matter, and should be chemical free, it is a key component in organic farming and should be a staple of every gardener’s plot.
Through the wonders of nature, organic waste materials, such as leaves, vegetable scraps, fruit peels, and grass clippings, are handily transformed into a nutrient-rich soil conditioner, facilitated by helpful microorganisms such as bacteria and fungi, along with larger decomposers like worms and insects.
While composting is simple in theory, the details can make it quite complex.
For a start, there are many types of composting, such as hot or cold composting, vermicomposting (using worms), and manure composting.
For a simple garden plot, however, we will focus on the bread and butter of compost – cold composting – a low-maintenance method where organic materials are simply piled up and left to decompose naturally over a longer period.
So why should you bother with the sometimes smelly endeavor of making your own compost?
The list of reasons are nearly endless, but the main benefits include improving your soil structure and fertility, enhancing water retention, promoting microbial life for nutrient cycling, and benefiting the environment through sequestering carbon and reducing waste.

Home composting will generally take between 2 and 6 months, but is dependent on many factors.
Hands-off gardeners who simply leave their compost, only adding to it periodically, might take a year or more to fully decompose.
Hands-on active gardeners, however, who tend to their compost pile regularly, will be able to produce fully decomposed compost in 3 months or less.
While a compost pile can be started at any time of the year, decomposition will occur slower in winter when temperatures are colder.
Similarly, if you keep your compost warm, adequately moist, and turn regularly, you could have usable compost in as little as one to two months.
The process of composting is like making a jam sandwich – the more you put in (material and time), the more you will get out. More mass will also generate more heat and encourage more bacteria feeding. A bigger pile will therefore result in faster composting.
Although it may take a few months to start yielding your compost, the process is straightforward.
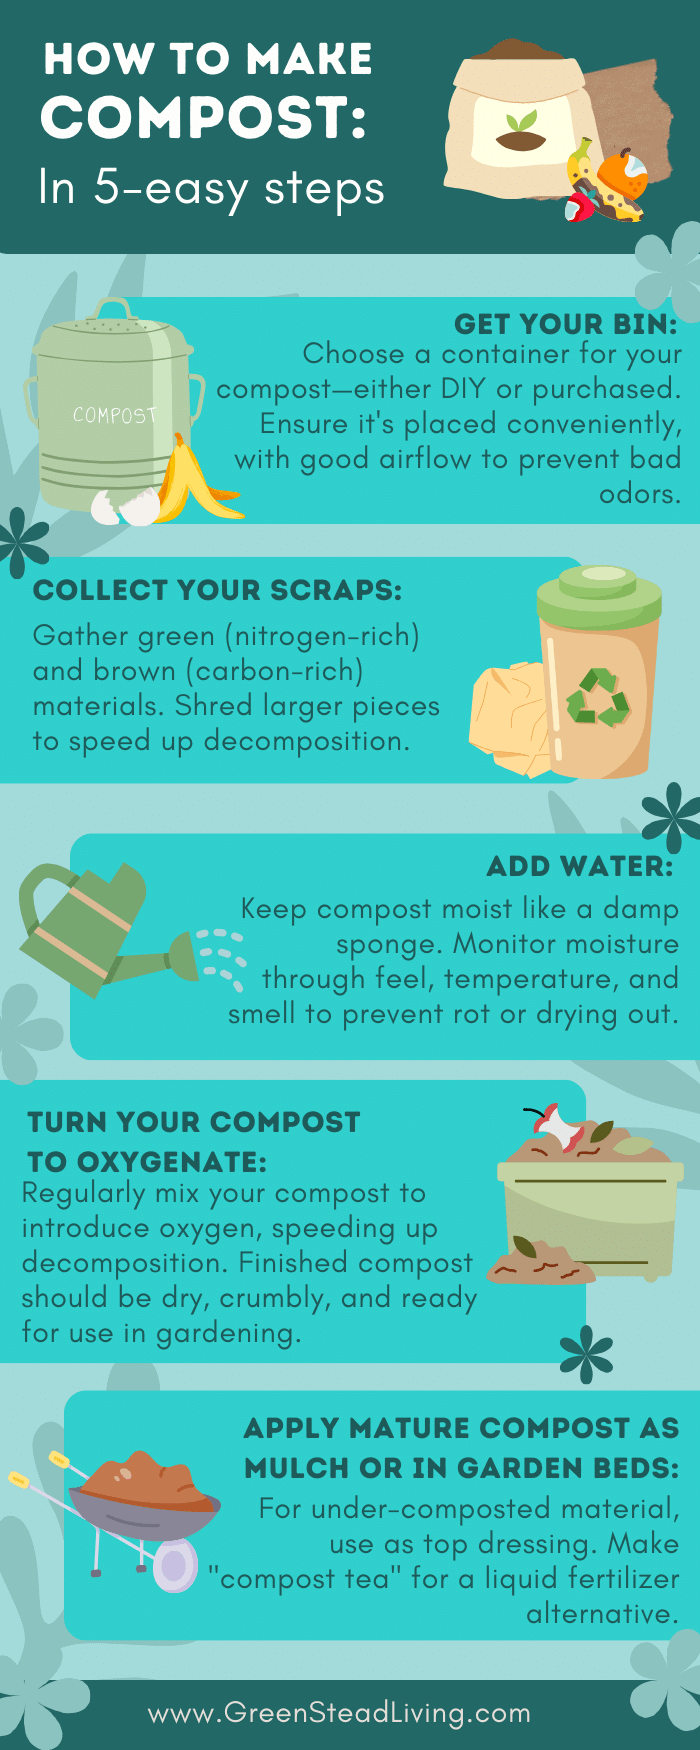
Unless you love the smell of open decomposing matter in your backyard, you’re going to need somewhere to contain your compost.
You can either build your own DIY compost bin, or purchase one ready made. The easiest and cheapest method is the make your own trash can composter (I used this guide here).
Note that air (oxygen) is crucial for successful composting; with no air (anaerobic composting), gasses such as methane and ammonia will build up, not ideal for creating healthy compost.
Place your compost bin in a convenient yet discreet part of your garden. It should be easily accessible but not too close to your living areas due to the natural decomposition process. A partly shaded area is ideal as it prevents the compost from drying out too quickly.
You next need organic material to put in your compost bin to get the process started. The waste you will be collecting falls into two categories: greens, which provide nitrogen, and browns, which provide carbon.
Green materials include common household waste such as vegetable scraps, fruit waste, coffee grounds, but also include grass clippings.
Brown materials, on the other hand, comprise dried plant materials, fallen leaves, shredded tree branches, cardboard, newspaper, hay, straw, and wood shavings.
Make sure you shred any paper or cardboard and cut large wood pieces into smaller pieces. The larger surface area will help more oxygen reach the surface, accelerating the composting rate significantly. The smaller the better.
Start by laying a thick layer of browns at the bottom of your bin and continue to add materials in layers, alternating between browns and greens. Most sources recommend a ratio of 2:1 brown to greens.
Don’t take this number to heart, however; it is unlikely in a home setting you will have exactly 2:1, just be mindful when you can. It won;t affect the quality of your compost too much, it just lengthens the time it takes to decompose.
Wait until you have enough materials to make a pile at least 3 feet deep with a combination of wet (green) items and dry (brown) items – you need a certain amount of mass to generate enough heat for decomposition to occur.

There are some items that should never go into your compost pile.
Meat, fish, and dairy products are not suitable because of potentially harmful pathogens to humans that will build up if not composted at high enough temperatures. They are also smelly and will attract rodents and flies.
Diseased plants, invasive species, and chemically treated wood should also be avoided as they contain chemicals that are harmful to either humans or your soil.
Pet waste is another big no-no; there are millions of harmful parasites and pathogens harmful to humans. Herbivore manure, however, (e.g., from rabbits, horses, cows) is generally safe to compost.
Lastly, oil, fats, and grease should be avoided as they tend to create odor problems, attract pests, and slow down the composting process by creating an anaerobic environment
The most complex aspect of composting is adding the correct amount of water; too much will drown the beneficial bacteria and it will rot before it composts. Too little water, however, and your pile will take months to do anything and, if it breaks down at all.
It can be tough to gauge the optimum amount of water, especially for beginners, but there are three ways you can easily tell.
Firstly, your compost pile should be moist and have the consistency of a damp sponge. Use a watering can, hose, or any other method to gently spray your pile until thoroughly moist. You want the pile to remain damp but not dripping wet, so pour half a bucket of water over it once a week to keep things moving, if needed.
The second way to tell is by monitoring the temperature in the center of your compost. You can do this the unsophisticated way, by shoving your hand into the middle and checking that it feels warm, or you can go high-tech, and buy a compost thermometer.
Thirdly, there is the good old-fashioned smell test. If your compost heap starts to smell heavily, it’s an indication it probably contains too much water and is starting to rot. Allow it to dry out by not adding any more water for a week or so, and turn it regularly.
Composting can sometimes feel like more of an art than science, but with these three tips, and a bit of practice and patience, it will soon become simple enough.
Like fire, oxygen is one of the key components to keep your compost pile continuing churning.
To do so, simply use a shovel or gardening fork to “turn” the material, that is, move the material around so the center of the material moves to the outside and the outside material to the inside. Some store bought compost bins have a crank handle to make this easier.
During the busier summer months I tend to stir mine every week or so, although 2 weeks is fine, especially in colder winter seasons.
If all goes well and you actively tend to your compost, adding approximately 2:1 browns to greens, watering when required, and turning 2 to 4 times a month, you should have good usable compost in a month or two. Hurray!
If your compost is a little under-composted, it can still be perfectly fine to use as a top dressing or mulch – as long as the raw materials are no longer recognizable then you should be good to go.
Once the compost pile stops producing heat and transforms into a dry, brown, and crumbly texture, it has completely matured and is ready for use. Incorporate a 3 to 6 inch layer of compost into your beds and apply a generous layer to the surface of your pots at the start of every planting season.
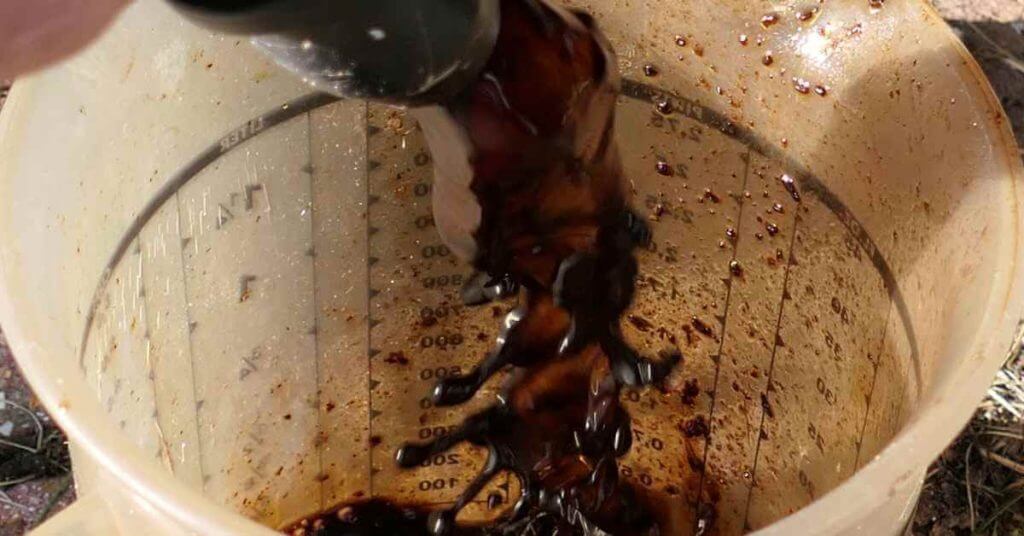
For those looking to go the extra mile, compost tea can be made with the finished compost, where you allow the fully formed compost to “steep” in water for several days, then strain it to use as a homemade liquid fertilizer.
Remember, composting is more of an art than a science. It may take some time to get your compost pile perfectly balanced, but with patience and practice, you’ll be rewarded with a rich soil amendment that benefits your garden immensely.
Embarking on your own compost-making journey is not only rewarding for your garden but also a significant step towards sustainable living.
This beginner’s guide has equipped you with the basics—from understanding what compost is and its myriad benefits, to detailed steps on how to start your pile, and the dos and don’ts to ensure a successful composting process.
As we’ve seen, anyone can compost, and every bit contributes to a greener, more fertile earth. So, armed with this knowledge, I encourage you to start your composting journey today and witness the transformation in your garden and your environmental footprint. Happy composting!
Compost is simply organic matter that has been decomposed and recycled as a fertilizer for soil enhancement. Because it is composed only of organic matter, and should be chemical free, it is a key component in organic farming and should be a staple of every gardener’s plot.
The main benefits include improving your soil structure and fertility, enhancing water retention, promoting microbial life for nutrient cycling, and benefiting the environment through sequestering carbon and reducing waste.
Through the wonders of nature, organic waste materials, such as leaves, vegetable scraps, fruit peels, and grass clippings, are handily transformed into a nutrient-rich soil conditioner, facilitated by helpful microorganisms such as bacteria and fungi, along with larger decomposers like worms and insects.
Learn about the benefits of beef tallow for skin, from its complement of skin enriching vitamins to its complete fatty acid profile.
Discover the benefits of organic gardening with our guide on how to make compost tea. This simple process enriches soil, promoting plant health.
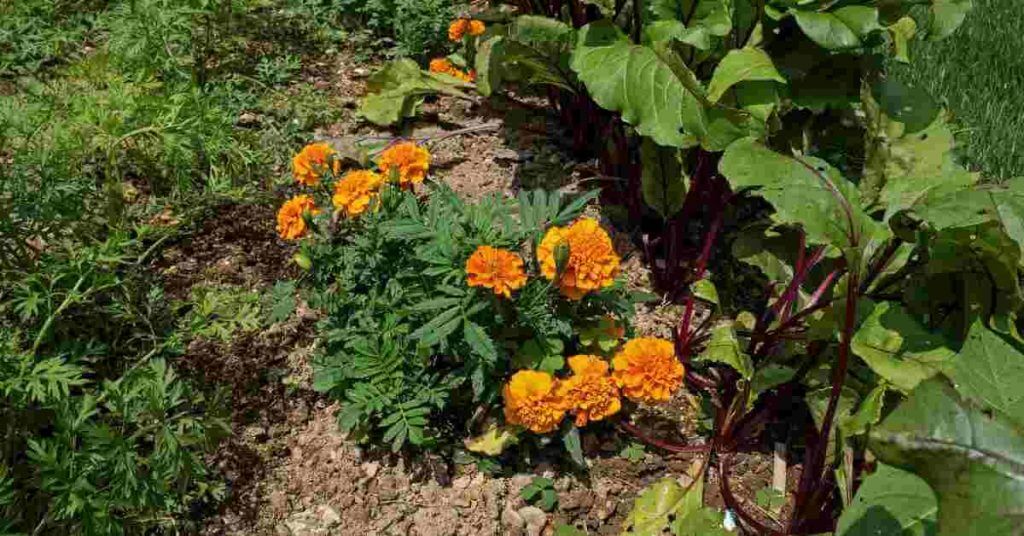
Looking for which plants are best for companion planting with flowers? This article contains a table with the best flowers and their many benefits.
Although still experimental, the benefits of grounding have been demonstrated in an increasing number of studies.

Learn how to make beef tallow at home with this step-by-step guide. Perfect for cooking and skincare, this method ensures pure, long-lasting tallow.
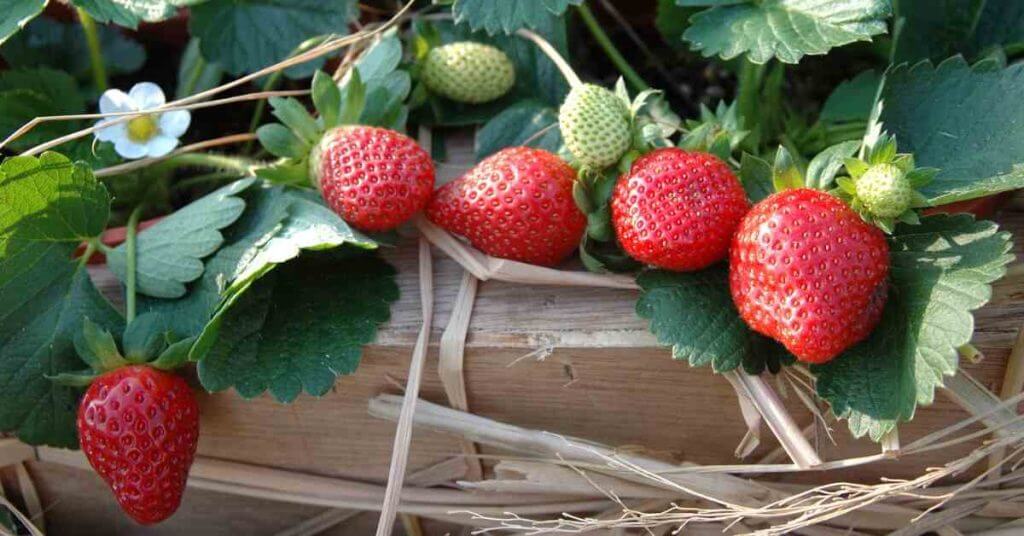
Here are the 5 best companion plants for strawberries, and how each will compliment each other for healthier and more lucrative strawberries.