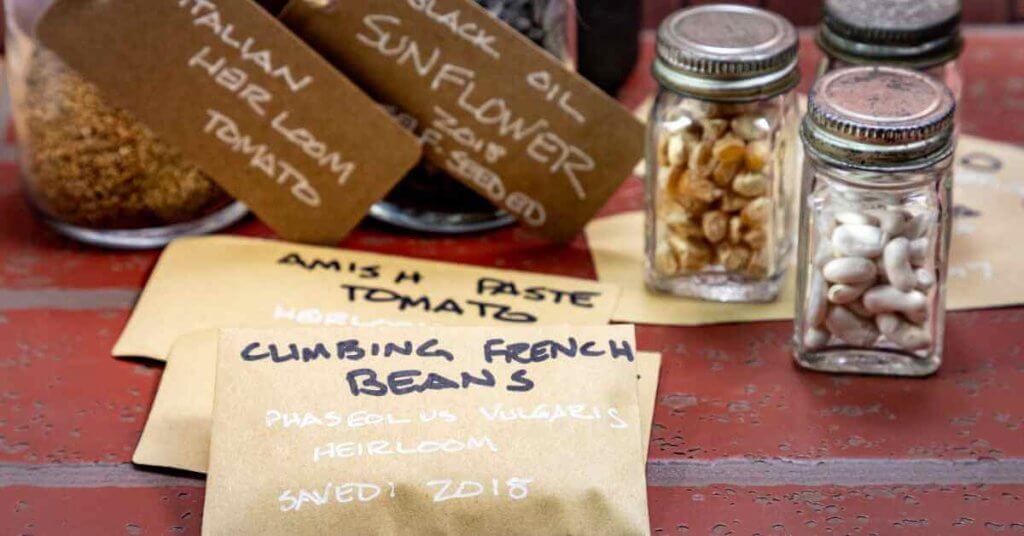
What Are Heirloom Seeds And Why Are They Important?
Heirloom seeds are varieties passed down for generations, preserving diversity. But what are heirloom seeds? They’re treasures of taste and tradition.
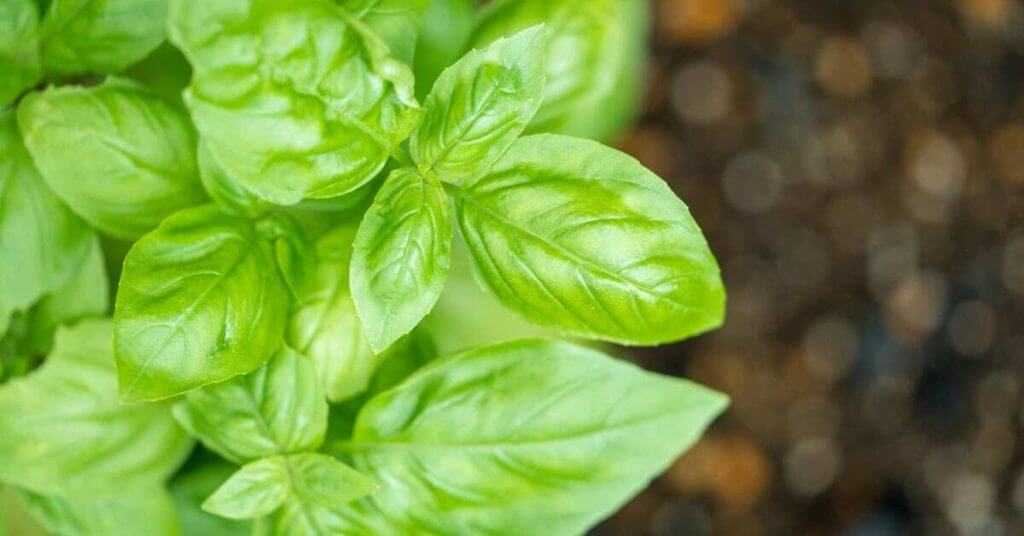
Basil is often touted as one of the easier plants to grow, although I have found it harder to succeed in practice, having admittedly killed more basil plants than I would care to recall.
While 6 hours of sun and some well-draining soil are all that is required for basil to grow, I have found them to suffer from what I call Goldilocks Syndrome, where too little or too much sun and water can significantly hamper your basil plants’ health and yield.
After more trial and error than I would care to admit, I have found a tried and tested way to grow basil from seed consistently from the start to the very end of the growing season. This article will guide you through a step-by-step process of growing basil from seeds while helping you avoid the many pitfalls that can quickly kill them.
With a bit of practice and patience, growing basil from seed is just a few steps away.
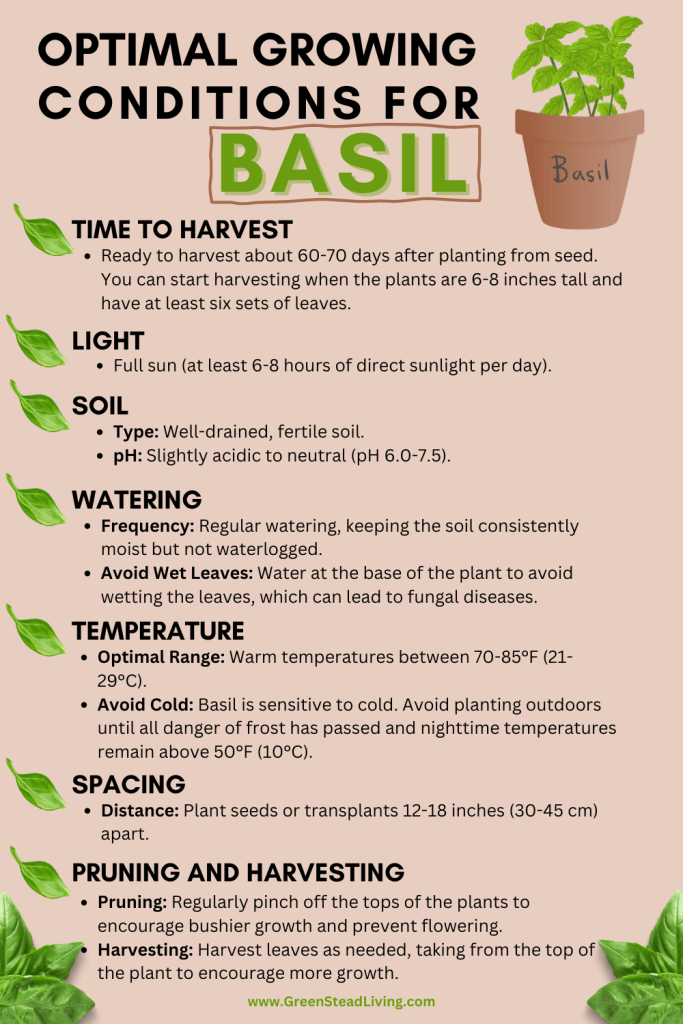
Basil boasts a variety of types, each with unique flavors, sizes, and appearances. While some differences are subtle, others are significant, and choosing the best variety for your climate is essential.
Sweet basil and Genovese basil are two of the most popular types and my personal favorites. Their sweet, aromatic leaves are perfect for pesto, salads, sauces, and Italian dishes. In my zone 8b garden, these varieties thrive, flourishing in the warm climate and well-draining soil.
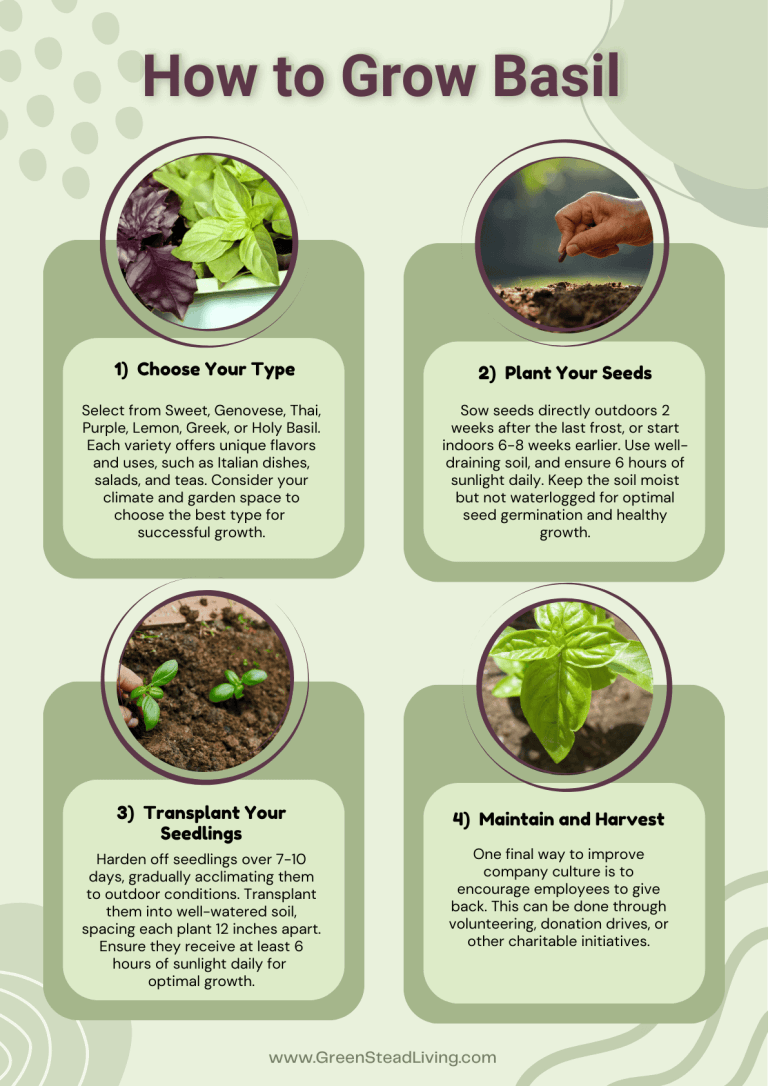
The graphic below will guide you in selecting the best basil variety based on your growing conditions and culinary needs.
Having picked your varieties and obtained your seeds, it’s time to get planting.
As with many other herbs and vegetables, directly sowing seeds outside in the plant’s final location is the quickest and easiest option, but also the most risky.
Transplanting seedlings from seeds grown indoors or in a greenhouse may involve more work overall, but allows you to plant earlier in the season without fear of freezing spells while avoiding pests and diseases that often overwhelm small and delicate seedlings.
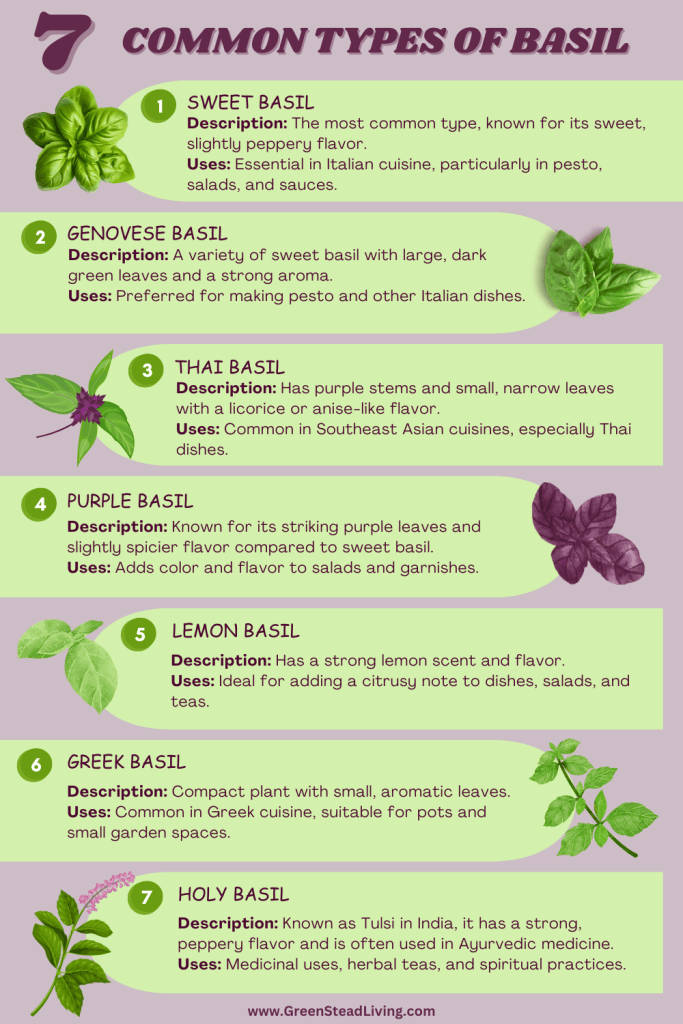
Successfully sowing basil seeds is all about timing. Basil thrives in warm weather, so ensure you are at least two weeks past your last frost date (you can find your last frost date here) and the soil temperature is consistently above 50°F (10°C), with an Ideal soil temperature around 70°F (21°C). Just one frosty night is enough to kill germinating seeds and seedlings instantaneously.
It is generally recommended that basil get at least 6 hours of sunlight a day, and ideally 8. From experience, however, it can also thrive when slightly shaded from the most intense midday sun, particularly under the cover of tomato leaves.
Find a spot in your garden that will get at least 6 hours of morning and evening sun, and bonus points if you can find a location where it is partially shaded during the hottest part of the day where the highest evaporation occurs. If you can’t shield your basil plants, you’ll have to keep a closer eye on the soil moisture levels and water more frequently, especially for younger and more delicate basil seedlings.
Ensure your soil is well-draining, and add compost before planting to ensure a good amount of organic matter that will keep the plants fed during its growth stage.
Before sowing your seeds, thoroughly water the soil to ensure it is evenly moist but not water-logged. This initial deep watering will create the ideal conditions for germination, which typically takes a few days. After sowing, avoid over-watering until the seeds have sprouted, as excessive moisture can hinder their growth.
Sow the seeds about 1/4 inch (6 mm) deep, spacing the seeds approximately 12 inches (30 cm) apart. If planting in rows, space rows about 18 inches (45 cm) apart. Feel free to plant more seeds closer together, and then thin to the above spacing by keeping only the strongest seedlings once their first set of seed leaves appear. It can help to apply a thin layer of moist soil over your seeds to ensure they remain constantly moist and can germinate.
How often you need to water your newly planted seedlings is unfortunately almost impossible to answer because of the many variables, such as soil type, weather, humidity, and drainage.
While much of it comes down to trial and error, a useful tip is to check the soil’s moisture by feel. When you pick up a handful, it should feel wet and leave a damp mark on a paper towel, but you shouldn’t be able to squeeze water out of it like a sponge. This is generally true for almost all plants.
Alternatively, you can test the soil’s moisture by inserting your finger about 2 inches deep. Ideally, the soil should feel moist at least 1 inch down.
Although raising directly sown seeds can be challenging due to weather and pests, the upside is that you quickly develop hardy seedlings and plants that are already acclimated to their final location. For most, however, I recommend growing your seedlings indoors and transplanting them once more established.
For most people, I recommend growing basil seedlings indoors in a controlled environment before transplanting them to the garden. Although this method requires more effort, it significantly increases the chances of survival and eliminates concerns about unpredictable weather.
By raising seeds in ideal conditions, you can start them much earlier in the season than with direct sowing. Use this website to find your region’s last frost date, and plan to sow your basil seeds indoors 6-8 weeks before that date.
To start your seeds, use a small container with a lid (disposable plastic trays from takeout meals work well). Drill a few small holes in the bottom for drainage, and use the lid to water your soil mix from the bottom.
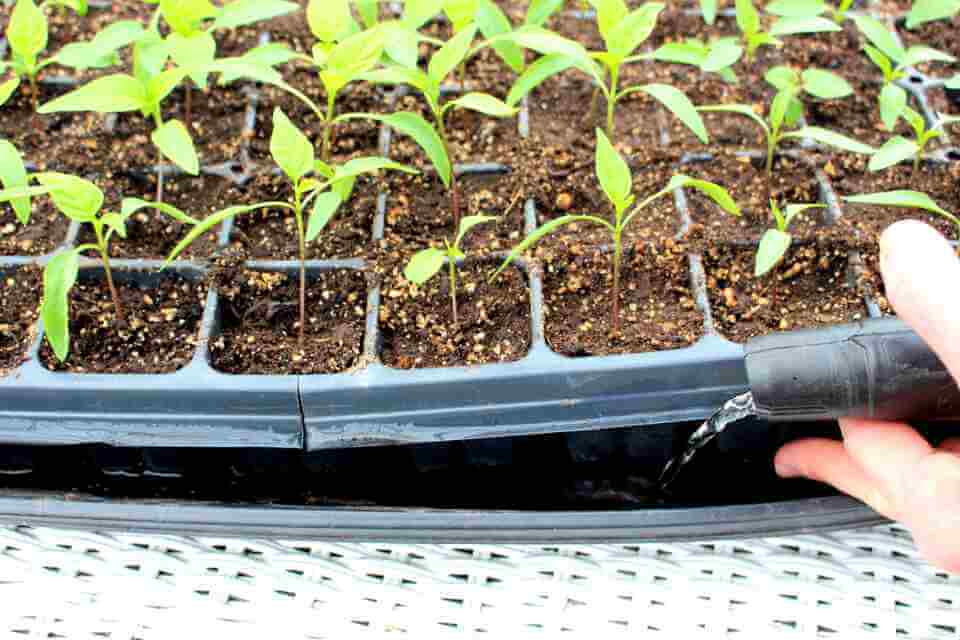
When starting seeds indoors, it’s crucial to use a lightweight seed-starting or potting mix. These mixes typically consist of peat moss, coconut coir, compost, vermiculite, perlite, and fertilizers. The ideal growing medium should retain water while providing quick drainage to promote healthy root growth.
For the tray setup, I place two cups of water onto the lid to thoroughly moisten the soil from the bottom. The goal is to get the soil wet enough (but not soaking) to last throughout the germination process, which typically takes 3 to 4 days.
Once you’ve sprinkled your seeds on top of the moistened soil, add a light layer of soil to thinly cover the seeds. I have found this step crucial to ensure the seeds remain constantly moist and in contact with the soil, vital for proper rooting and germination.
The exception to this is holy basil, whose seeds need light to germinate. Instead of covering holy basil seeds, gently press them into the moist potting mix to ensure good soil-seed contact.
Place an overhead light source above the seed tray, keeping it lit for 16 hours and turning it off for the remaining 8 hours (overnight). While you can use natural sunlight on a windowsill, overhead light promotes faster and thicker growth, preventing seedlings from bending toward the light and compromising their integrity.
Basil is a heat-loving herb, and its seeds germinate best in warm soil. The ideal temperature for basil seed germination is between 70 and 75°F (21 to 24°C), with seeds typically emerging from their husks in about 5 to 10 days. Using a seedling heat mat to provide bottom heat can speed up germination and increase germination rates, though it’s not required if you can maintain an adequate room temperature.
Basil seedlings grow best in slightly moist but not soaking-wet soil. Check the soil once a day to gauge moisture levels. Water when the soil is dry to the touch by bottom-feeding the seed tray. Bottom watering prevents flooding and root rot and encourages roots to grow downward.
After about a week, when the seedlings have grown their first set of true leaves (the initial set will be seed leaves which will soon die off), pick out the strongest and healthiest-looking seedlings with a toothpick or stick and transplant them to a larger module tray. This allows their root systems to continue growing until they are mature enough for transplanting.
Younger seedlings generally adapt better to transplanting, so they should ideally be moved to the garden between 6 and 8 weeks old. As a rule of thumb, plant your seedlings at least 2-3 weeks after the last frost date to avoid sudden cold snaps that could harm them.
Before transplanting, seedlings grown in a warm, stress-free environment need to get used to the harsher outdoor conditions. This process is called hardening off.
To harden off basil seedlings, gradually acclimate them to outdoor conditions over a period of 7 to 10 days. Start by placing the seedlings in a sheltered, shaded area outside for a few hours each day, gradually increasing their time and exposure to direct sunlight and outdoor temperatures.
Bring them indoors at night initially, then gradually leave them out overnight as temperatures stabilize. This process helps the seedlings adjust to the outdoor environment, reducing transplant shock and promoting healthy growth.
After hardening off, your seedlings are ready to be transplanted into their final outdoor location. Choose a spot where the basil plants can receive at least 6 hours of sunlight (morning and evening sunlight is best while being shielded from the intense midday sun). Before digging your hole, water the soil to ensure it is well-moistened but not soaking. This will create a more favorable environment for the roots to establish and grow.
Dig your hole for the transplant and plant the basil seedlings around 12 inches apart. While you can plant closer, I have found 12 inches to be the best compromise between yield and survivability.
Gently remove each seedling from its container, keeping the root ball intact. Place the seedling in the hole, ensuring the base of the stem is at ground level. Fill in the hole with soil, pressing gently around the base of the seedling to eliminate air pockets.
Basil is also an excellent container plant, and the process for transplanting is the same. Containers should be at least 12 inches (30 cm) in diameter and 12 inches deep is ideal, providing enough space for the roots to grow while allowing the plant to develop a healthy, robust structure.
If you are growing multiple basil plants in the same container, ensure each plant has at least 6-8 inches of space between them to prevent overcrowding and promote good air circulation.
After weeks of nurturing your basil seedlings and transplanting them, it might seem like the hard work is over and you can simply pick a few leaves as needed. However, to maximize the plant’s life and yield, proper maintenance and harvesting are essential.
Basil grows quickly and thrives when cared for correctly. Feed your basil plants a balanced, water-soluble fertilizer every 4-6 weeks. I use tomato fertilizer since my basil plants are near my tomatoes, and I’ve found that basil responds exceptionally well to it. In general, tomato and basil plants make excellent companion plants.
Watering depends on the heat. Basil loves warm growing conditions, and the warmer it is, the more water it needs. The secret to those large, lush basil plants you see is a combination of constant heat and humidity (like in greenhouses or conservatories) with frequent watering to compensate for evaporation. When growing basil outdoors, the heat from the sun causes high evaporation rates, so it’s crucial to monitor the soil closely to ensure it never dries out.
After transplanting, leave the plant untouched until it has developed five to six sets of true leaves. Once the plant has reached this stage, regularly pinch back the tops of the plants to encourage bushier growth and prevent flowering, which can make the leaves bitter. Watch the quick video below to see how to prune your basil plants.
Harvest leaves regularly, starting when plants are 6-8 inches (15-20 cm) tall while avoiding removing more than one-third of the plant at a time to promote continued growth. The top leaves emit a hormone that tells the plant to grow up, so pinching it will cause it to become bushier.
Also, you want to keep harvesting to prevent bolting and flowering, after which the plant is finished. You can either wait for it to flower and collect the seeds, or remove it and replace it with another transplant.
Plant new basil seeds every 2-3 weeks to ensure a continuous harvest throughout the growing season.
Supermarket basil may look appealing on the shelves, but it’s not built to thrive outside the controlled environment of a greenhouse.
Grown with precise lighting and regular feedings, this basil is incredibly weak once exposed to the real world. The substrate it comes in doesn’t hold water or nutrients well, relying on constant watering and fertilizing in the greenhouse. To give your supermarket basil a fighting chance, you need to harden it off to withstand direct sunlight and wind and plant it in real soil. If you can’t grow your seedlings and must use store-bought basil, spend at least a week hardening it.
Start by trimming the top shoot of each basil plant just above the third leaf pair, using or freezing the leaves immediately. This promotes growth and reduces the plant’s water and nutrient needs. Next, repot the basil into a slightly larger pot with potting mix, as the supermarket basil comes in the smallest pot size with no room to grow.
This will stress the plants, and while some may die, others will thrive. Unlike seed-grown basil, supermarket basil needs this extra care because it’s not adapted to your growing conditions. Finally, thin out the weakest plants, looking at stem thickness to gauge health.
Remember, the biggest mistake with store-bought basil is not hardening it off, as the transition from perfect greenhouse conditions to the outdoors can be fatal. Get your basil out of that tiny pot ASAP, and give it a real chance to flourish.
Growing basil from seed to harvest can be both rewarding and challenging. While basil is often considered an easy plant to grow, it does require attention to detail and proper care to thrive. By following this step-by-step guide, you’ll be able to overcome common pitfalls and enjoy a bountiful basil harvest.
Remember, basil needs plenty of sunlight, well-draining soil, and consistent moisture. Start your seeds indoors to give them the best chance of success, and gradually acclimate them to outdoor conditions through hardening off. Once transplanted, regular feeding and watering will ensure your basil plants grow strong and healthy.
Don’t forget to pinch back the tops to encourage bushy growth and prevent flowering. Harvest leaves regularly to keep the plant productive and flavorful. If you start a new batch of seeds every few weeks, you’ll have a continuous supply of fresh basil throughout the growing season.
With patience and practice, you’ll find that growing basil from seed is a simple and rewarding process. Whether you’re making pesto, adding fresh leaves to your salads, or infusing oils, homegrown basil will elevate your culinary creations.
Basil needs plenty of sunlight, well-draining soil, and consistent moisture. Start your seeds indoors to give them the best chance of success, and gradually acclimate them to outdoor conditions through hardening off. Once transplanted, regular feeding and watering will ensure your basil plants grow strong and healthy.
After transplanting, leave the plant untouched until it has developed five to six sets of true leaves. Once the plant has reached this stage, regularly pinch back the tops of the plants to encourage bushier growth and prevent flowering, which can make the leaves bitter.
As with many other herbs and vegetables, directly sowing seeds outside in the plant’s final location is the quickest and easiest option, but also the most risky.
Transplanting seedlings from seeds grown indoors or in a greenhouse may involve more work overall, but allows you to plant earlier in the season without fear of freezing spells while avoiding pests and diseases that often overwhelm small and delicate seedlings.

Heirloom seeds are varieties passed down for generations, preserving diversity. But what are heirloom seeds? They’re treasures of taste and tradition.
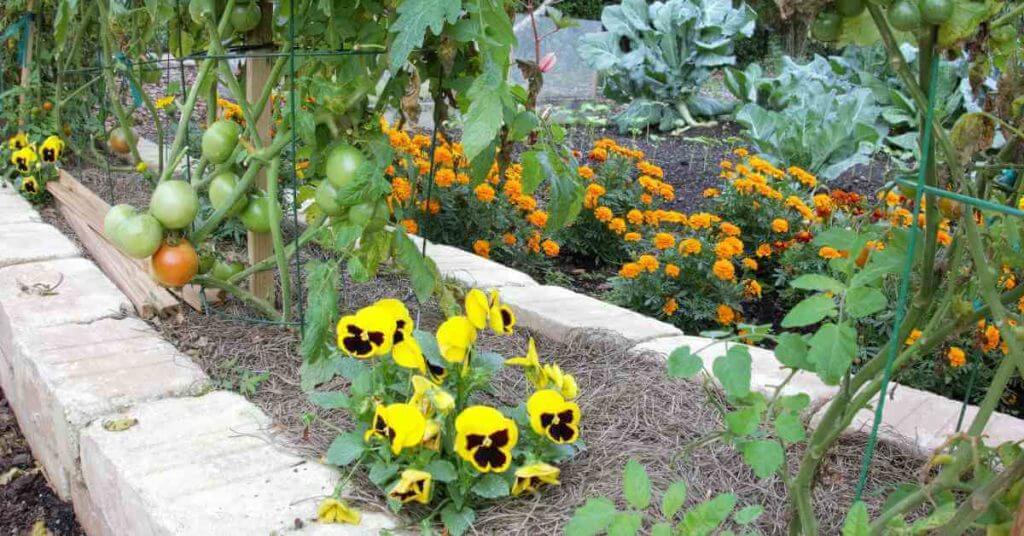
Here is a comprehensive and easy to follow companion planting chart for vegetables, based on available scientific literature and trial and error experience.
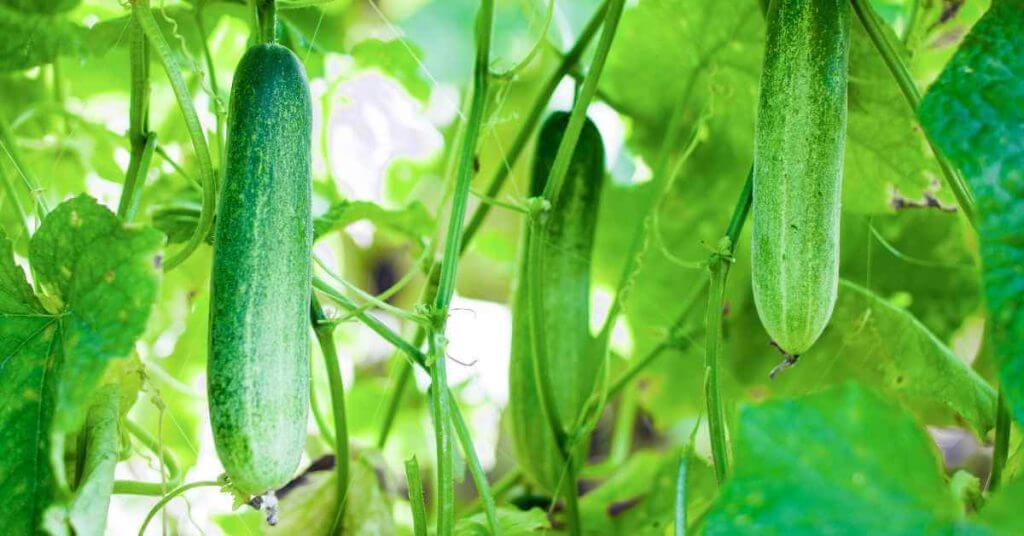
Here is a list of the 5 best companion plants for cucumbers that will help your cucumbers, and your garden as a whole, thrive.
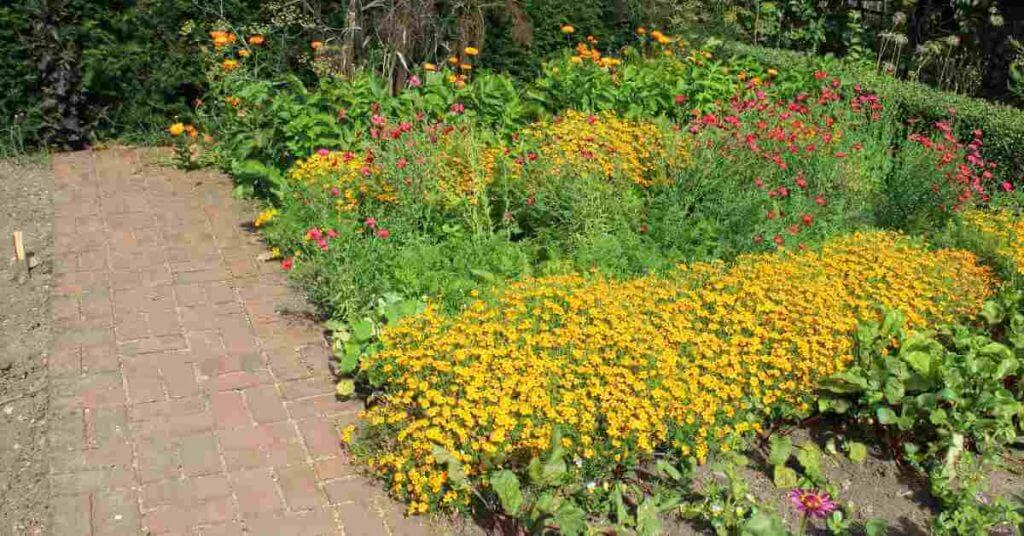
An overview of everything you need to know about what is companion planting, and what plants should be included and avoided to help your garden thrive.

Here are the 5 best companion plants for peppers that will deter pests, attract pollinators, increase fruit set and yield, and enable your peppers to thrive.
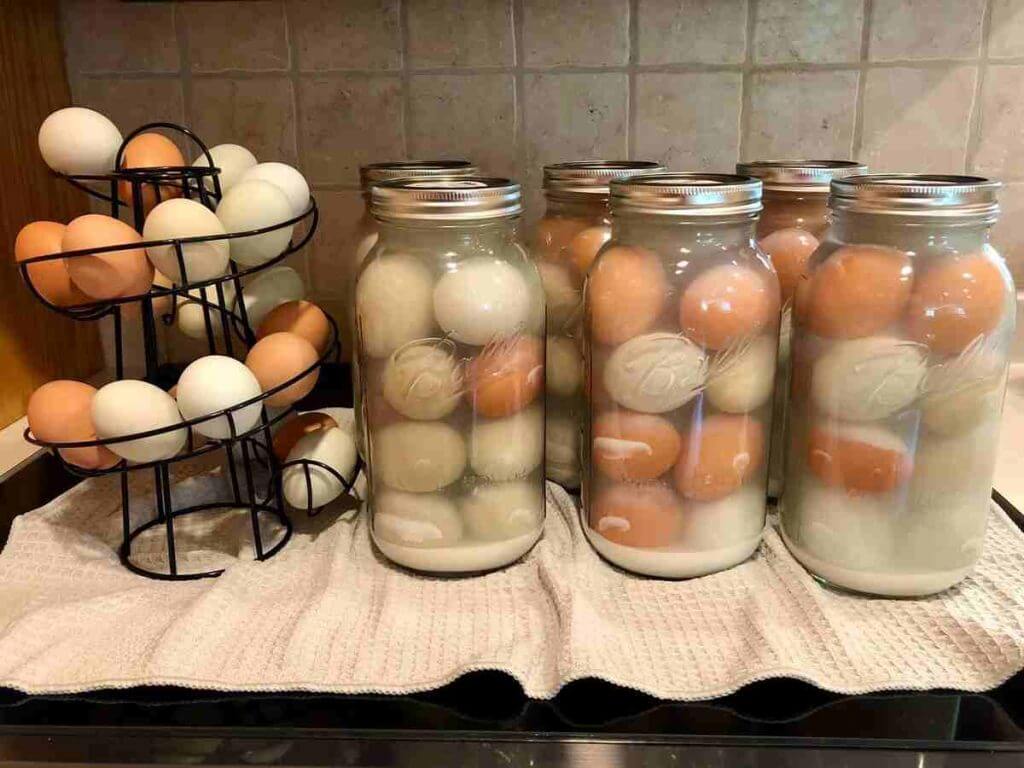
Learn how to preserve eggs for long term use, using the age-old technique of water glassing.