
A Guide To Silkie Chickens (Having Learned The Hard Way)
A guide to Silkie chickens and everything you need to know about the breed before you buy.
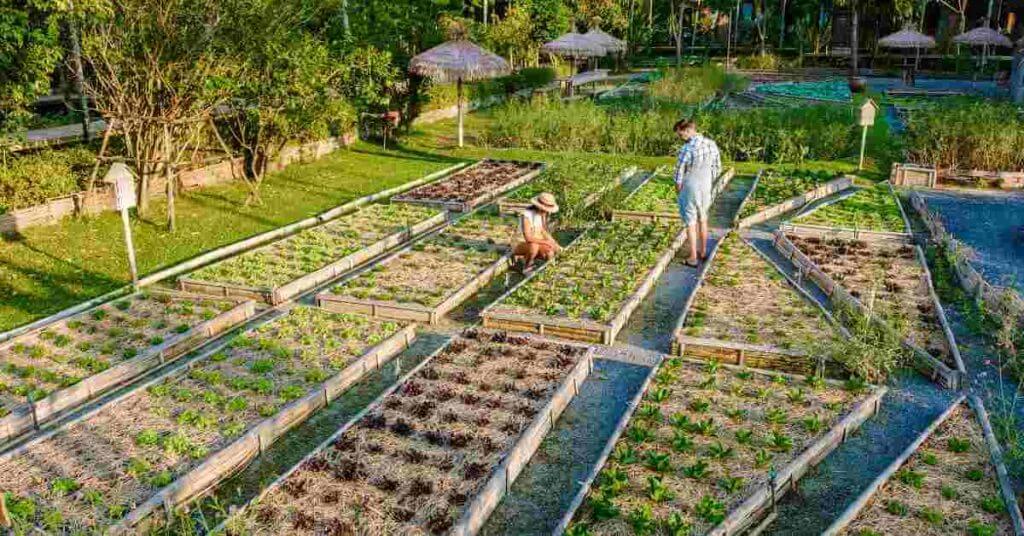
There’s a reason why raised beds have remained the staple of many gardener’s plots for so long – they simply get the job done, and done well.
Whether growing fruits, vegetables, herbs, or flowers, raised beds offer superior soil quality, excellent pest control, and ease of use, all contributing to ensuring your crops reach their full potential and taste superb.
Whether you are a novice gardener searching for advice, or a seasoned green thumb looking to make the most of your raised beds, this article will cover everything you need to know about raised beds, from their many benefits to the pros and cons of each material, and the costs associated with building your raised beds.
As with most things in life, the key to success lies in preparation. By planning your raised bed, from the optimum dimensions and depth to the best kind of soil to use, you’ll save yourself a world of trouble and produce healthy and great-tasting crops in your first season.
Put simply, a raised garden bed is a type of gardening setup where the soil is contained in an above-ground structure, as opposed to traditional planting in flat beds where crops are planted directly into the ground-level soil.
Raised beds typically require soil to be brought in to fill the raised structure, whereas flat beds do not require additional soil as they utilize the already existing soil.
Raised beds can vary widely in shape and size, and are usually bordered by wood, stone, or other materials.
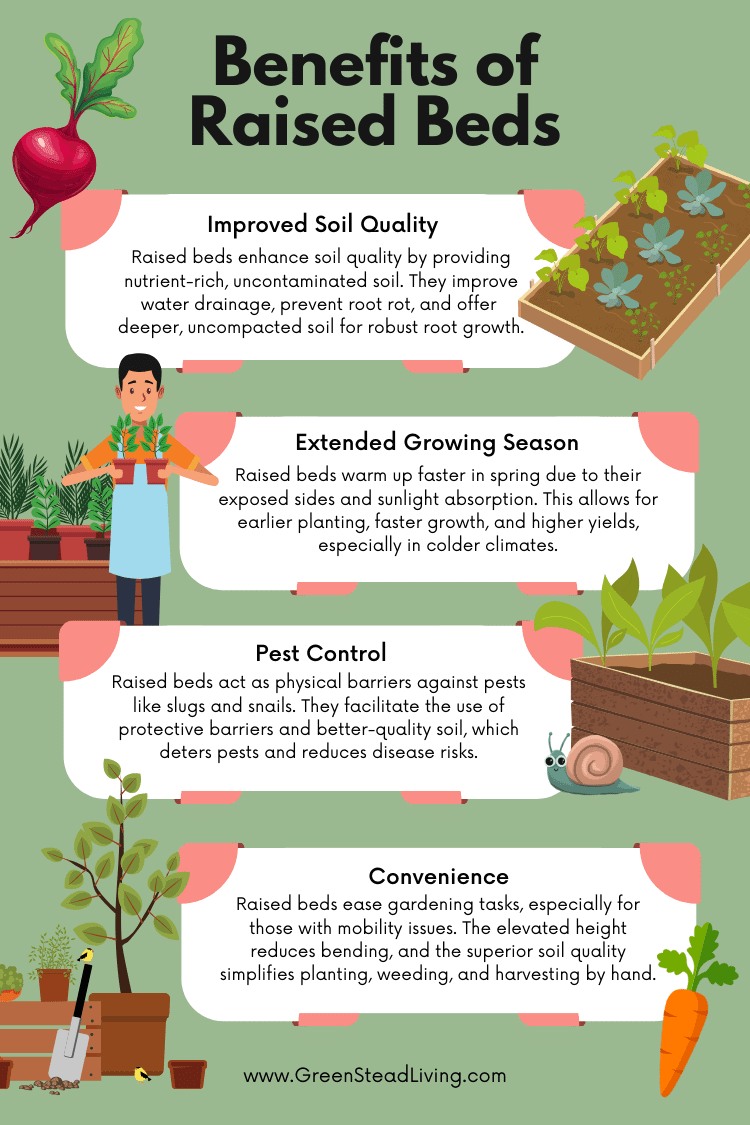
When we think of soil quality, we often think of its nutrient value, with good quality soils containing higher quantities of all the essential macro and micronutrients.
But soil is so much more than just nutrients. Good soil quality will also enhance water drainage, prevent waterlogged roots, and reduce the risk of root rot.
Raised beds are typically used for smaller urban areas or places where soil contamination might be an issue. By importing fresh, clean soil, where you know the origins of the organic matter and can manage your soil pH and organic matter, you can avoid contaminants commonly found in urban environments.
The main benefit of raised beds over traditional row-style gardens is that you will provide 5 to 10 times more uncompacted soil to your plants for root growth in the same amount of space.
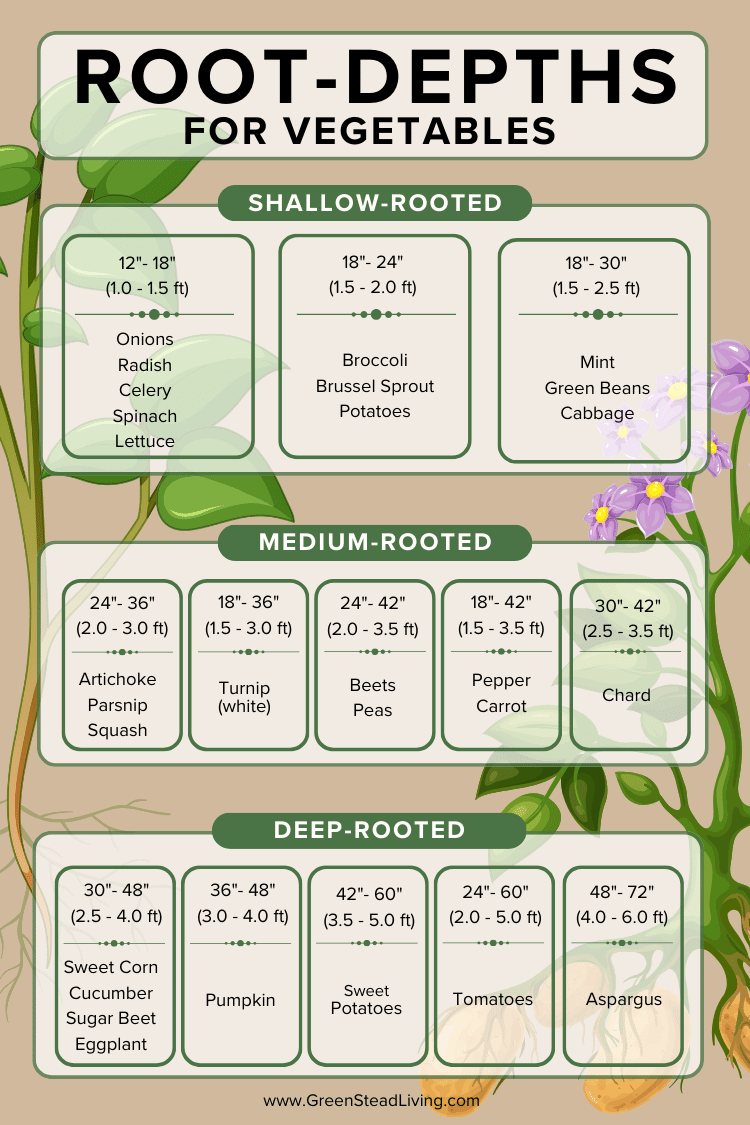
As you can see in the image below, roots can grow deeper than the 9 inches or so of soil that you could loosen mechanically in the ground with a tiller.
Raised beds warm up faster in the spring because their sides are typically exposed to the warmer air and not the cooler soil. The wooden borders of raised beds also absorb sunlight directly, helping to heat them quicker in those sunny but cooler early spring months. This heating effect is most profound in colder climates where spring is still fairly cold; in more temperate climates the effect will be less.
Thus, with raised beds, you can start planting earlier than you could in traditional in-ground gardens, so long as you avoid the last frost date. You can also increase the absorbed heat slightly by using dark-colored materials for bed frames.
For most garden plants, raised beds therefore offer faster growth, higher yields, and greater ease of operation.
All gardeners are well aware of the scourge of pests destroying your crops. Whether it’s bugs, rabbits, or birds, raised beds can help you fortify your crops to reduce damage from troublesome pests.
Firstly, raised beds act as a physical barrier, making it more difficult for crawling pests, such as slugs and snails, to reach your plants. You can also easily attach physical barriers like netting, row covers, or insect screens to the sides of raised beds to protect plants from flying and crawling insects.
Secondly, raised beds can deter much smaller pests such as aphids and even diseases that thrive in poor-quality or contaminated soil, by utilizing a high-quality soil mix. Better quality soil also facilitates better drainage, reducing the habitat for pests that thrive in wet conditions, like fungus gnats and certain soil-dwelling insects.
Anyone who’s ever shoveled yards of soil, or aerated manually with a fork, knows that gardening can be tiresome even for supposedly fit and healthy people like me. Any chance we have to make our gardening tasks easier is therefore a welcome relief.
For those with back pain or mobility issues, that extra couple of raised feet can make all the difference when weeding, harvesting, or adding extra compost.
Your raised beds, with their superior soil quality, should be aerated and not too compacted, making harvesting and planting easy to perform by hand as opposed to digging.
As with all things, nothing in life is free, and the benefits of raised bed gardens come with one major disadvantage – cost.
Although relatively inexpensive, the soil quantities needed to fill multiple deep raised beds soon add up. You can save on this, however, by making your own compost. Some cities even have free or very cheap compost (although you’ll need a truck and a trailer, or at least a friend who does).
Let’s walk through a typical example of a typically sized raised bed, using a 4 ft by 8ft bed at 12 inches high.
Cedar Wood Planks:
Screws and Nails:
Landscape Fabric (optional):
Soil and Filling:
The total for a basic bed construction in this example is $265, which will vary based on your own numbers depending on your region. This doesn’t factor in the costs of tools and irrigation systems.
With just four garden beds, you may be over $1000 in the hole. For many, including myself, this is a worthwhile investment in my passion – growing and consuming my own vegetables. For those on a tighter budget, however, it can become limiting.
There are ways to cut down on the price – you can often find used or reclaimed woods, and often entire garden beds for free on second-hand marketplaces. Buying soil in bulk often brings the price down, so make an order when you have everything ready to go.
Of course, you can use corrugated metal or any other materials to make your raised beds, likely bringing the costs down, but watch out for other determinants such as contaminated materials.
If you are looking to develop large areas or gardens of more than half a dozen raised beds, the costs become unreasonable, and traditional in-ground beds are likely a more sustainable option.
Instead, it will likely be more economical and practical to improve ground soil conditions by methods such as fertilizer amendments and crop rotation.
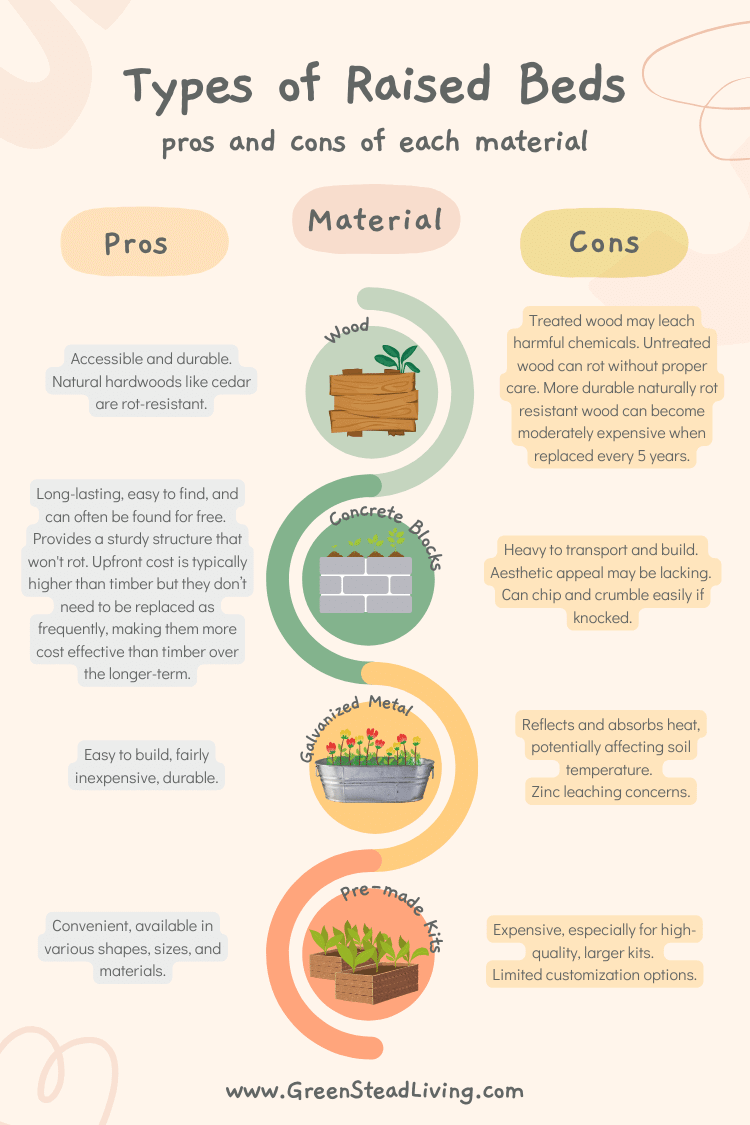
While the number of different types of raised beds is limited only by your imagination (I have seen every material from used tires to bathtubs), some are certainly better than others.
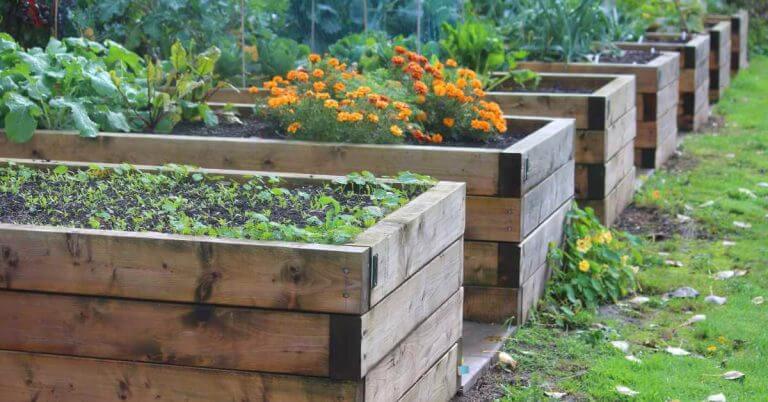
Wood is the most common material for raised beds as it is accessible, durable, and relatively inexpensive. Not all wood is equal, however.
Many gardeners opt for treated timbers, which is certainly a logical choice – raised beds contain permanently moist soil, and wet wood loves to rot. Treated timbers should therefore help to slow the rate of rotting, making them stronger and more durable.
The problem with treated timbers is the nature of the chemicals themselves. The most common chemicals used are Chromated Copper Arsenate (CCA), a chemical preservative containing chromium, copper, and arsenic. As the wood ages, these chemicals break down and can contaminate your soil and your plants, potentially entering your digestive system. Arsenic, as we know, is toxic and carcinogenic.
The same applies to other treatment options; pentachlorophenol has been linked to cancer and liver damage while creosote (commonly found on old railway sleepers) is carcinogenic and can cause skin and respiratory problems.
Even modern safer alternatives such as Alkaline Copper Quaternary (ACQ) and Copper Azole (CA) are still not perfect as copper can still be toxic if it leaches in significant amounts, but they are far better than the previous treatment options.
I never used treated lumber – all my raised beds are made from naturally rot-resistant wood. Although the upfront cost is slightly higher than untreated options, they last longer and eliminate concerns about soil contamination.
If you want your beds to last a long time, I recommend using cedar. Its natural resistance to rot and decay makes it an excellent choice and over time, weathers beautifully to a silvery gray. You can use other wood types like Redwood, Douglas Fir, Oak, or Cypress, but they are typically more expensive and can be difficult to find.
Most go for 2×6 dimensioned wood, and that will certainly do the job. If you can afford it, however, (both the price of lumber and soil), 2x10s work very well, especially for deeper-rooted crops like tomatoes, carrots, beets, and potatoes that thrive in deep high-quality soil.
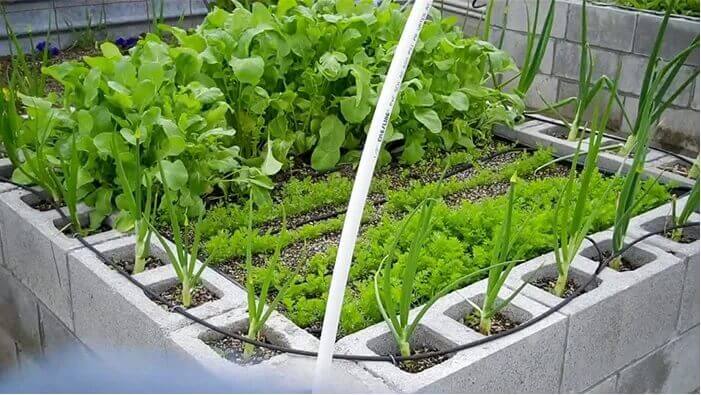
Concrete or Cinder blocks are also popular choices as they can provide a cheap and long-lasting alternative to expensive lumbers.
At just $2-$3 a block, they often prove more cost-effective over longer periods than lumber-raised beds, especially in humid areas such as Florida where a lumber bed might only last four years.
You can often find free cinder blocks on places like Facebook Marketplace, but you’ll need a means of transporting them.
Building cinder block beds is fairly easy, although lugging around concrete blocks is not the easiest way to spend a day. The blocks themselves will last a long time unless you bump them where they can fairly easily chip and crumble.
While you can place your soil straight against the concrete blocks, many prefer to seal the interior lining with a polymer paint or use a plastic sheet to separate the two, although I personally don’t think it would be worth the effort.
For me personally, I am not a fan of the aesthetics of concrete blocks, but to each their own. Their heavy nature, and their difficulty to dispose of, make lumber a better option for me.
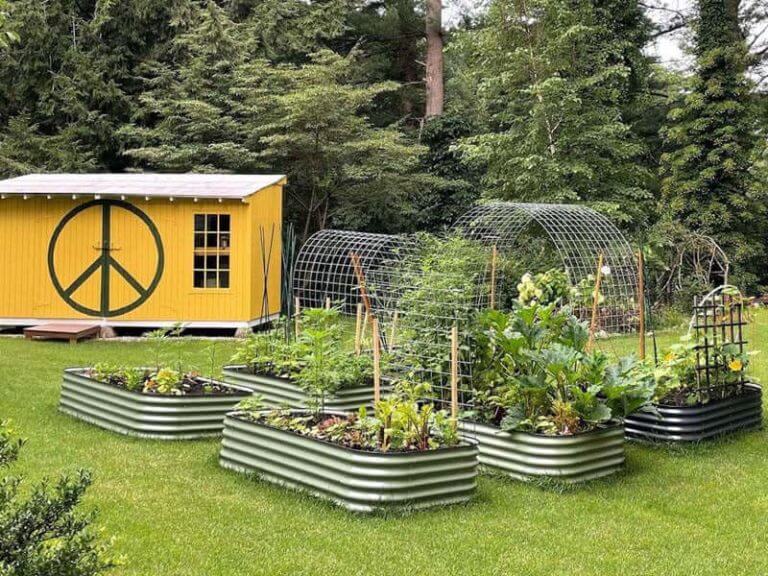
Metal beds are among the easiest raised beds to build. They are also fairly inexpensive – an 8ft sheet will set you back $20.
Some have concerns about the zinc coating used in the galvanizing process leaching into the soil. This is likely true but in a very small amount. Zinc is a plant micronutrient anyway, so in low doses, it should not harm plants or humans.
The main drawback of metal raised beds is their ability to absorb and reflect heat from the sun more than other materials, making them less able to keep the warmth of the soil in the winter and dissipate the heat in the summer.
Some plants are more vulnerable to heat variations than others, so if using galvanized metal, plant more heat-sensitive crops in the middle and the more tolerant ones closer to the edges.
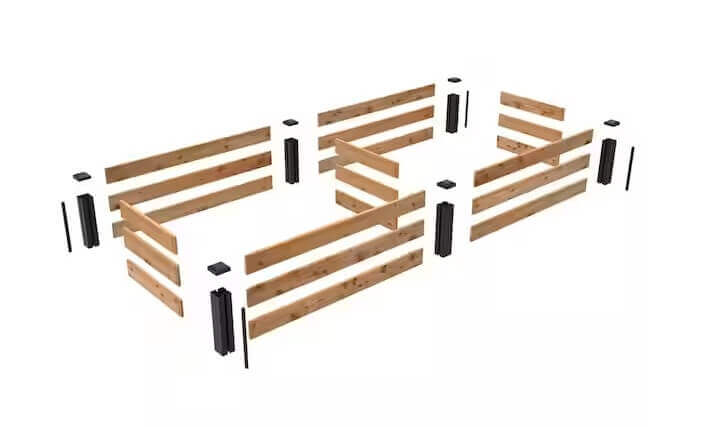
If you’re not much of a DIY’er, or simply don’t have the time or will, pre-made kits can be a great option.
The sky is your limit for pre-made kits, you can buy galvanized metal or timber kits in every shape, size, and color. The disadvantage here is price; a larger good quality raised bed can easily set you back over $1000, 3 to 4 times that of doing it yourself.
While flowers and herbs do well in both raised beds and traditional in-ground soil due to their smaller root sizes and lower nutrient requirements, vegetables benefit the most from raised beds, and the size, quantity, and quality of your vegetable crops are in large part dependent on deep and high quality growing mediums.
Flowering fruits and vegetables are typically heavy-feeders and require nutrient-dense soil and raised beds allow you to control and enrich the soil specifically for vegetable growth.
Many vegetables, especially cucumbers in my experience, are sensitive to waterlogged soil, which can lead to root rot and other issues. Well-draining soil afforded by raised beds can help mitigate these issues.
Deep-rooted vegetables such as potatoes, tomatoes, and beets, will thrive when their roots are allowed to propagate downwards. Tomatoes are perhaps the most notable; as soon as the roots hit a barrier to growth, such as hard compacted soil, they will stop growing very quickly.
Soil is another science unto itself. As a commercial landscaping project manager, you would not believe just how complicated soils can get, everything from salt content, lime requirement, percent fines and sands, and Kjeldahl nitrogen.
To make matters worse, store-bought soil provides endless options. You’ve probably already seen the overwhelming number of options like peat moss, vermicompost, garden mix, and coir soil.
I like to keep things simple. You need soil with a good organic matter content; 5% organic content by weight is generally a good starting point and we can build upon this with composting over the years. A pH level between 6 and 7 is the sweet spot for most vegetables.
For convenience and costs, a mix of 60% topsoil and 40% compost will offer the best bang for your buck. You’ll spend a small fortune trying to fill your raised beds with bagged mix, so check your local landscaping centers (not Home Depot, proper contractor-grade landscaping supply centers) as the best rate is by the cubic yard. You can either have it delivered for an extra fee or pick it up yourself.
Most people make the mistake of not including enough organic matter in their soil and it makes a huge positive difference for the health of your garden to go slightly heavy on the compost.
Your soil is not an area where you should try to save money. One thing I learned early on is that you get what you pay for and the health and yield of your plants are highly dependent on the organic content and overall quality of your soil.
While calculating the volume of soil you require is simple enough (multiply the length of the bed by the width and the depth), expect your soil to settle after the first few rainfalls, and be prepared to top up a little.
The soil settles as well throughout the year – you will probably need to top off the beds in a few months or at the start of the next growing season.
While the compost-topsoil mix will provide a great starter soil, don’t expect to have the perfect soil straight away in your first year. Building great soil is a process over growing seasons and requires the addition of leaves and additional compost top-ups.
When looking at homemade raised beds, you’ll find that most are 4 feet deep and 4, 6, or 8 feet long. This is because the average person can reach 2 feet into a bed from a kneeling position, so a 4-foot-deep bed lets you reach the center from either side.
A 3-foot deep bed doesn’t use space efficiently, and a 5-foot deep bed needs stepping stones in the center to avoid compacting the soil. The 4-foot depth is also handy because most residential lumber in the U.S. comes in 4, 6, and 8-foot lengths, making it easy to measure and reduce waste.
In my 4×8 bed, I can grow three tomatoes and three peppers. These are big, heavy-feeding plants that need a lot of space. A 4×4 bed can fit one standard tomato plant with smaller plants like basil in the corners or four pepper plants.
When building multiple raised beds, leave a 1-foot walkway between them.
This 4-foot system is also great for square-foot gardening which can be used to take advantage of companion planting. Start with a 4×4 bed divided into 16 squares. With square-foot gardening, you get 9 onions, 16 carrots, or one broccoli per square. Tomatoes need 2 square feet each.
As we’ve seen, you’ll be surprised just how deep some plants like tomatoes and carrots can get. While at least 8 inches is often recommended, I would highly encourage you to go for 12 inches at a minimum, and ideally 24 inches if you plan to grow deeper rooted plants such as tomatoes, asparagus, and cucumber. You’ll notice the difference in your deep-rooted crops, as plants limited in root space will stop growing.
Even in my 12-inch beds, I’ve had carrots grow sideways to avoid tough and compacted ground beneath. If you know you have excellent, aerated, and non-over-compacted soil beneath your garden bed, you may get away with less. If you have poor soil, like me, you really need 12 inches at a minimum and possibly up to 24 if you want thriving deep-rooted vegetables.
Raised bed gardening is an excellent approach for both novice and experienced gardeners, offering numerous benefits over traditional in-ground gardening. One of the primary advantages is improved soil quality: By filling your raised beds with a customized soil mix, you can ensure your plants have the right balance of nutrients, organic matter, and proper drainage, which is especially important in areas with poor or contaminated soil.
When it comes to choosing materials, there are several options, each with its pros and cons. I personally opt for hardwoods like cedar and redwood as they are durable and naturally resistant to rot. The costs can add up quickly for multiple beds, however, so alternative cheaper options like galvanized metal and cinder blocks may suit your budget better.
The dimensions of your raised beds are crucial for maximizing efficiency and ease of use: A standard width of 4 feet is ideal, as it allows you to reach the center from either side without stepping on and compacting the soil. The length can vary based on your available space and gardening needs. For depth, while 8 inches is often the minimum recommended, aiming for 12 inches can significantly benefit deep-rooted vegetables like tomatoes and carrots, especially when placed above hard and poor-quality ground soil.
If you know you have excellent, aerated, and non-over-compacted soil beneath your garden bed, you may get away with less. If you have poor soil, like me, you really need 12 inches at a minimum and possibly up to 24 if you want thriving deep-rooted vegetables.
Most go for 2×6 dimensioned wood, and that will certainly do the job. If you can afford it, however, (both the price of lumber and soil), 2x10s work very well, especially for deeper-rooted crops like tomatoes, carrots, beets, and potatoes that thrive in deep high-quality soil.
The main benefit of raised beds over traditional row-style gardens is that you will provide 5 to 10 times more uncompacted soil to your plants for root growth in the same amount of space.

A guide to Silkie chickens and everything you need to know about the breed before you buy.
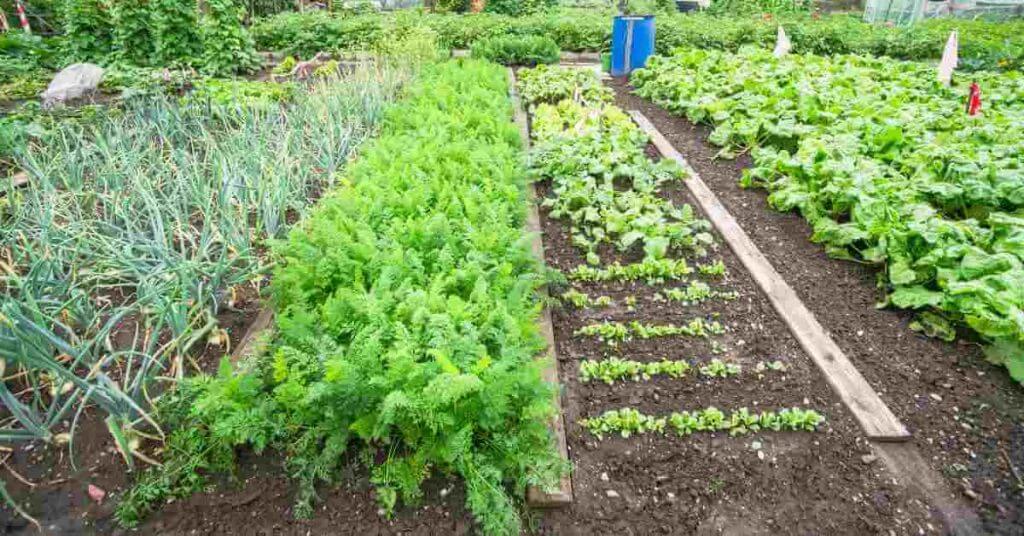
The ultimate guide to reap the benefits of no-dig gardening, complete with a step-by-step guide on building your own.
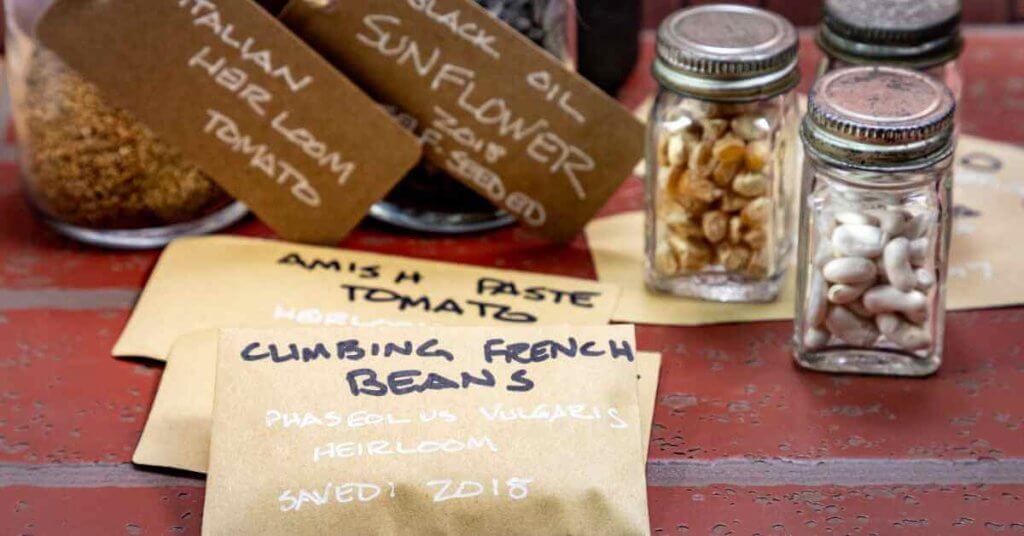
Heirloom seeds are varieties passed down for generations, preserving diversity. But what are heirloom seeds? They’re treasures of taste and tradition.

With its superior fatty acid profile and vitamin content, it is clear that tallow proves better for your skin when it comes to tallow vs coconut oil.
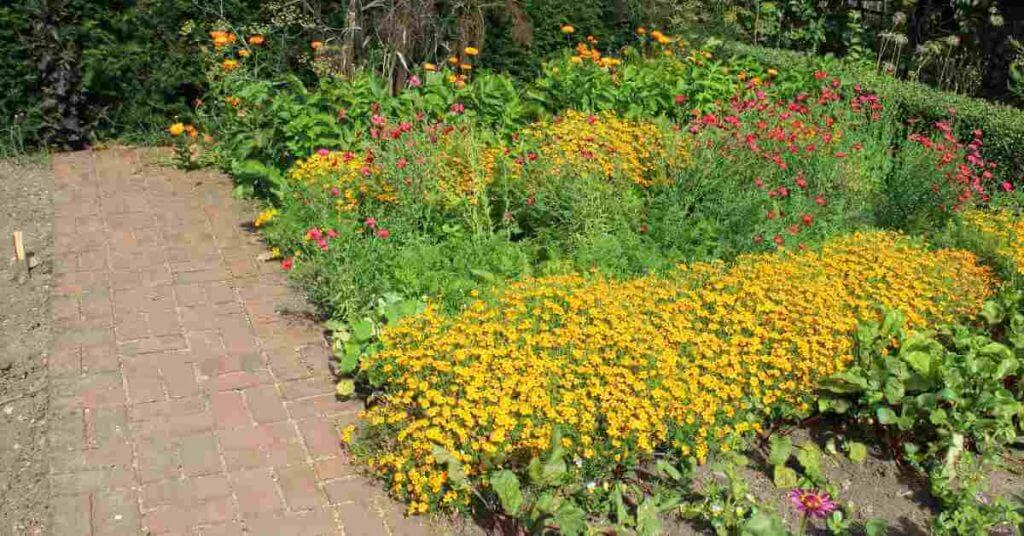
An overview of everything you need to know about what is companion planting, and what plants should be included and avoided to help your garden thrive.

Learn how to start a permaculture garden: an easy beginners guide to creating a sustainable, thriving ecosystem in your own yard.